Remotely access your home computer from anywhere, quickly and easily
I'm a huge fan of reverse proxy tunnels. Accessing private networks, like your home network or homelab, in this way is generally considered more secure than using a VPN or exposing ports to the public internet on your router. This will get you up and running in 5 minutes; anyone can do it.


If you've read my other posts, I'm a huge fan of reverse proxy tunnels. Accessing private networks, like your home network or homelab, in this way is generally considered more secure than using a VPN or exposing ports to the public internet on your router. I've written several posts on leveraging Cloudflare ZeroTrust, a great product I use and rely on daily for my homelab. In that spirit, I wanted to write about my other go-to ngrok—an indispensable tool in any engineer's toolkit. ngrok has grown over the years to be an incredibly versatile and accessible tool that anyone can use, from typical use cases, like the topic of this post, or more complex ZeroTrust or Kubernetes ingress scenarios, which I'll be diving into in future posts.
Many remote desktop solutions require installing something on the computer you are trying to access and the computer you are using to connect. They are heavily proprietary and, frankly, unnecessary. This will get you up and running in 5 minutes; anyone can do it. Now, if you have some familiarity with Docker, I would recommend that method; however, it's not required. I'll show you both.
Sign up for ngrok
You will need a paid personal account to proxy a TCP port, which we will do to remote desktop into our computer. I acknowledge there are some free alternatives to do this, but it will be hard to match this level of simplicity, flexibility, and control. ngrok is so versatile it's worth it for me (they did not pay me to say that :). I'm confident it will also be for you once you start playing with it. ngrok - Online in One Line
Mac Remote Desktop
- Install ngrok on the Mac you want to access (skip if using Docker):
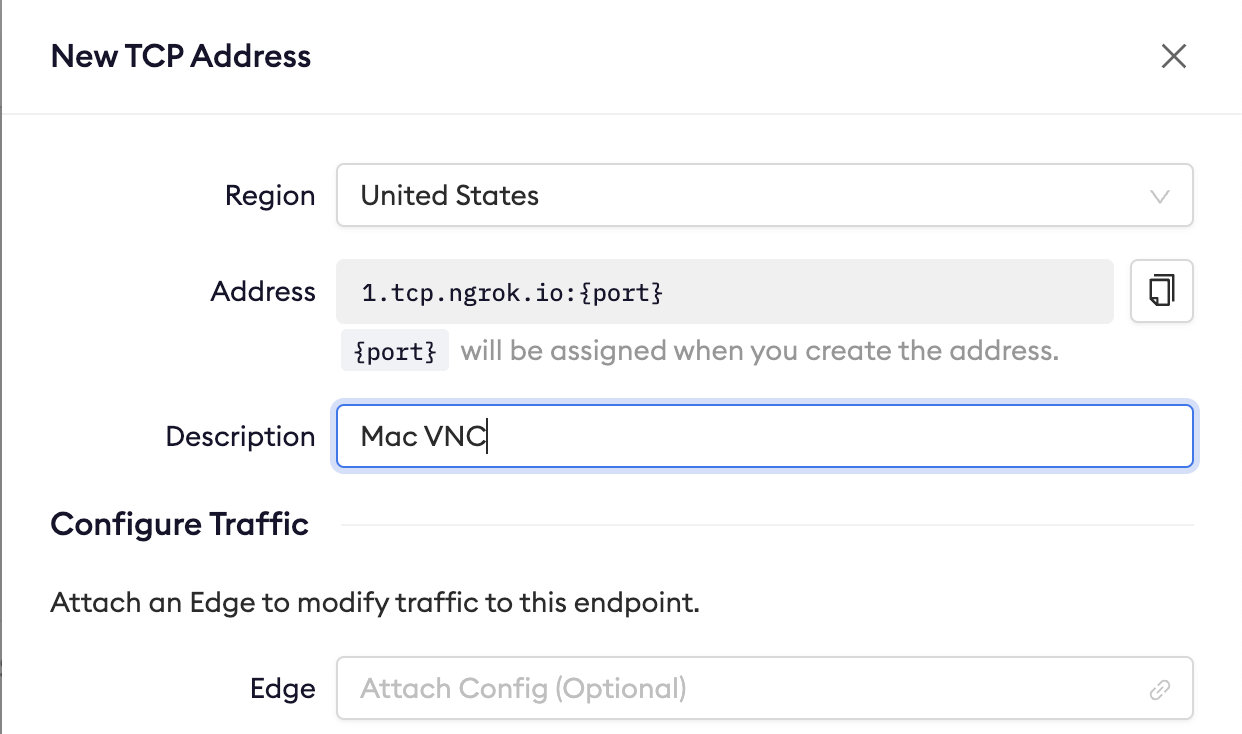
2. Create a new TCP address on ngrok
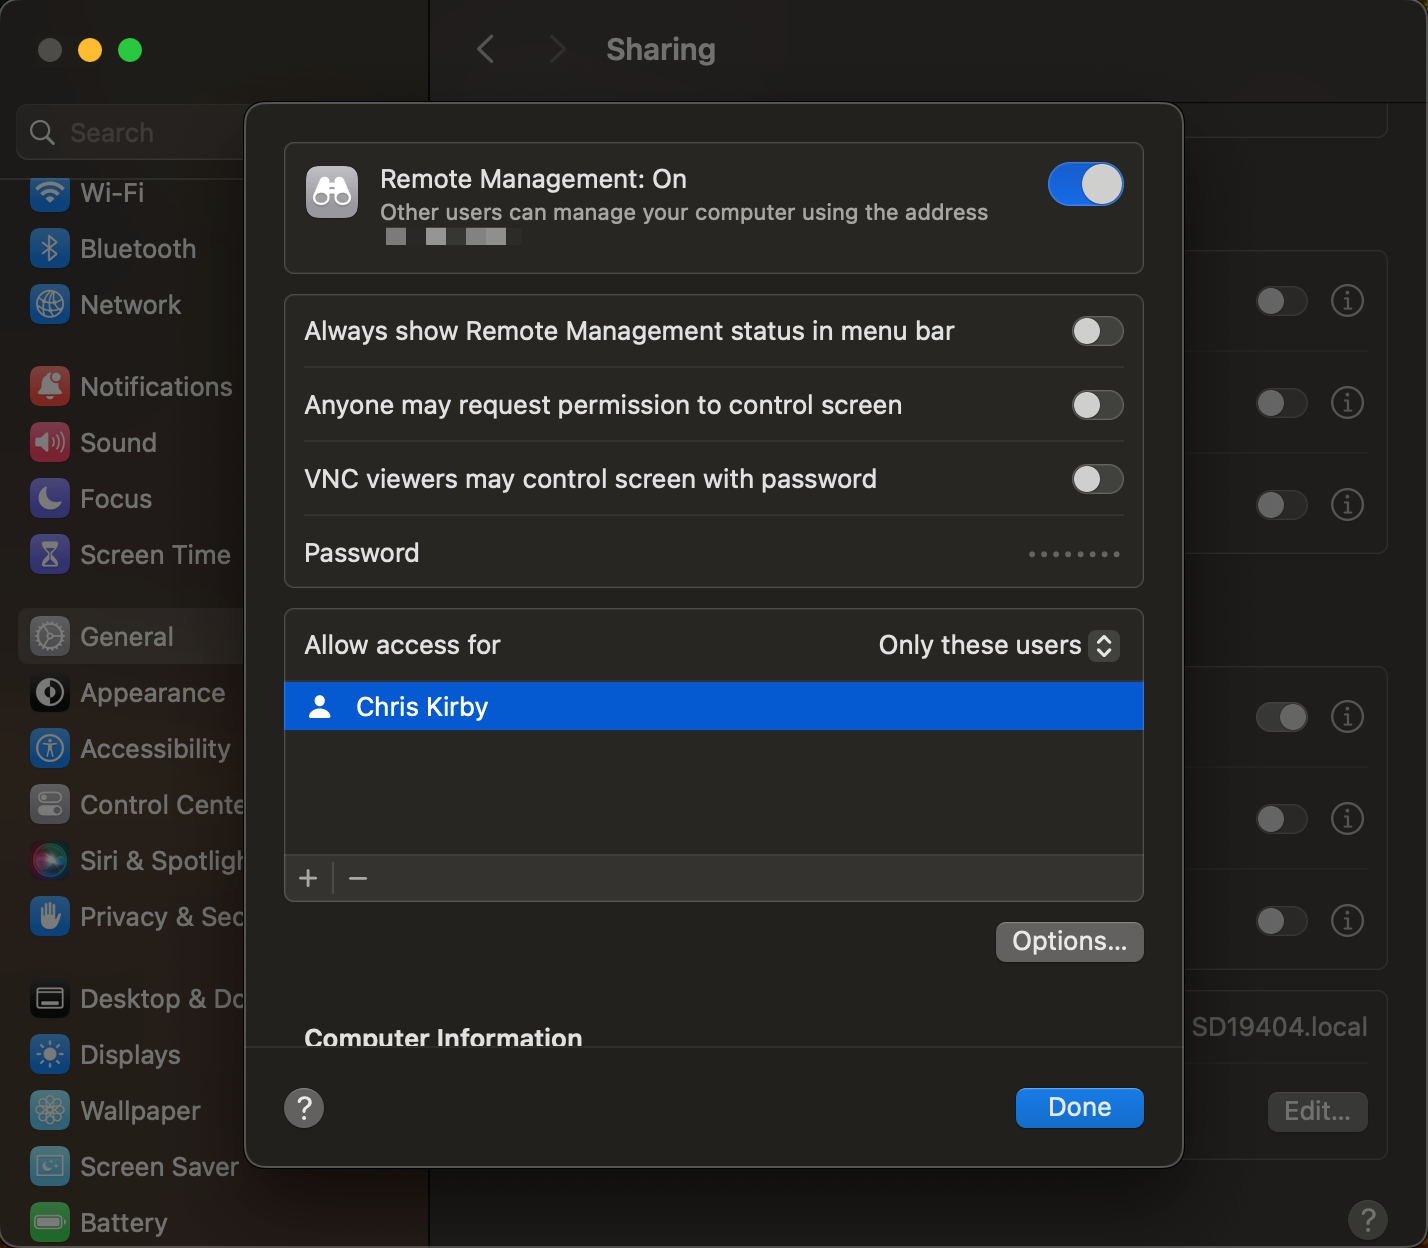
3. Enable remote access on your Mac
Open Settings -> General -> Remote Management
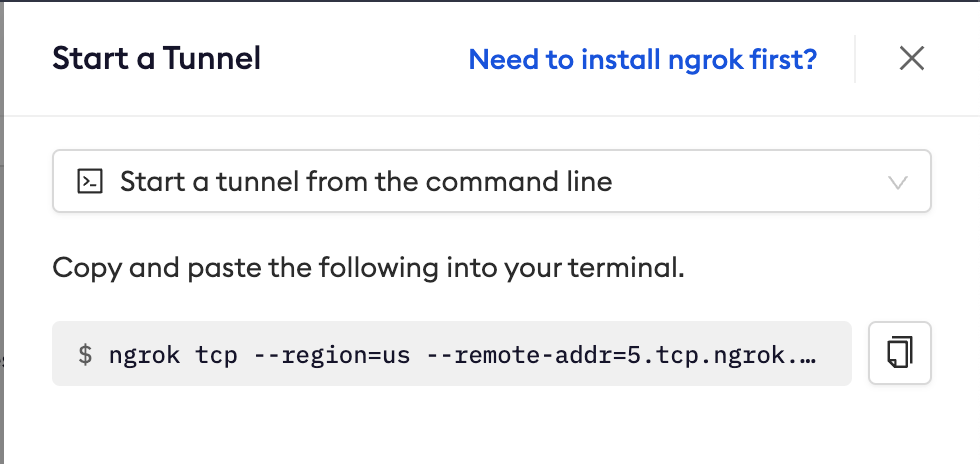
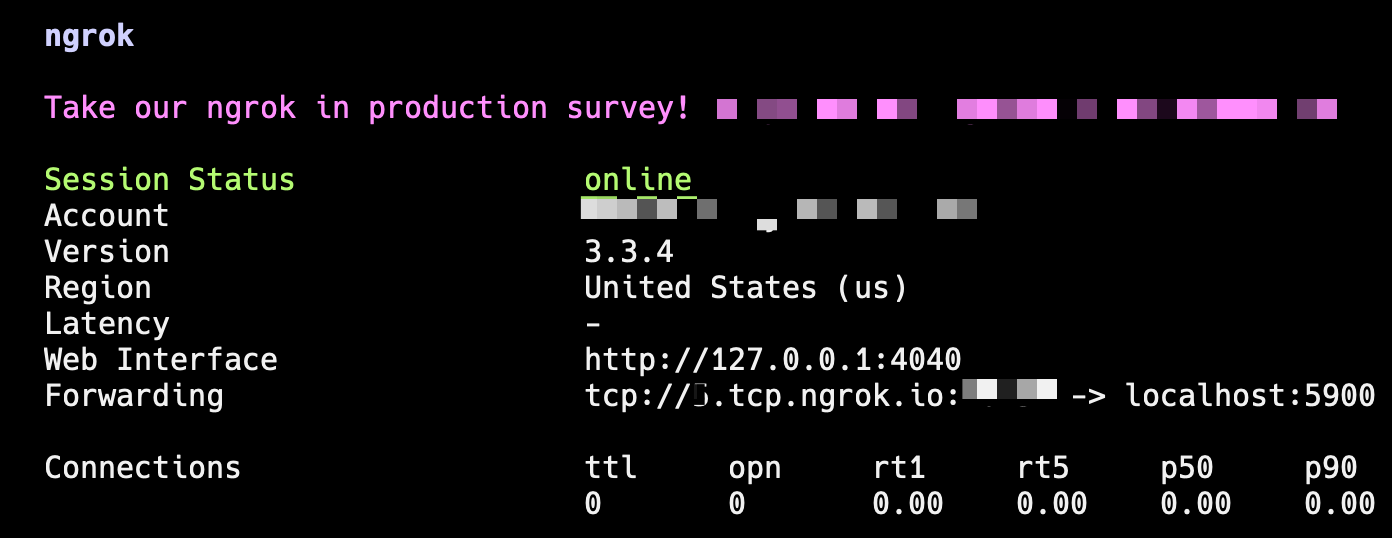
4. Start your tunnel
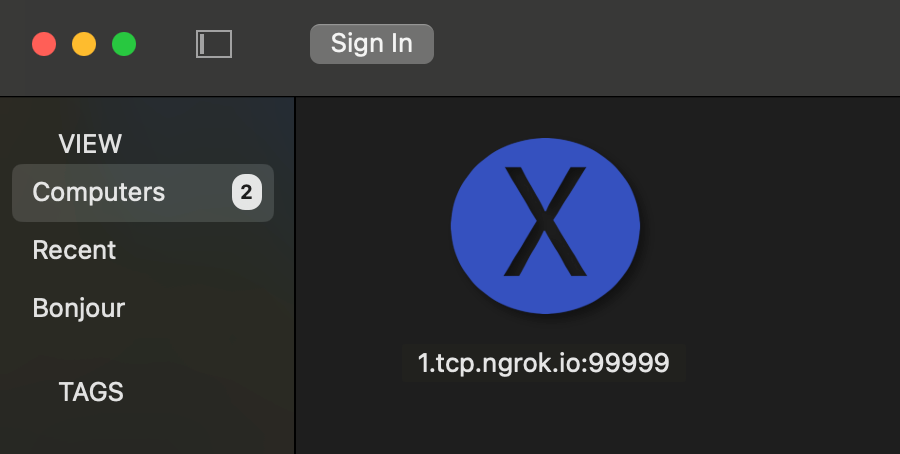
5. Select and use any VNC client to connect to your Mac from anywhere
I'm using Jump Desktop, but any VNC client will do. Paste in your tunnel address and port, then log in!
Windows Remote Desktop
The steps here are nearly identical. I'll skip any steps that are and identify the differences below:
- Install ngrok on Windows
3. Enable remote desktop. Great post here: https://www.howto-connect.com/enable-remote-desktop-windows-11-2-ways/
tldr; Open Settings -> Search Remote Desktop -> Enable (requires Win 11 Pro)
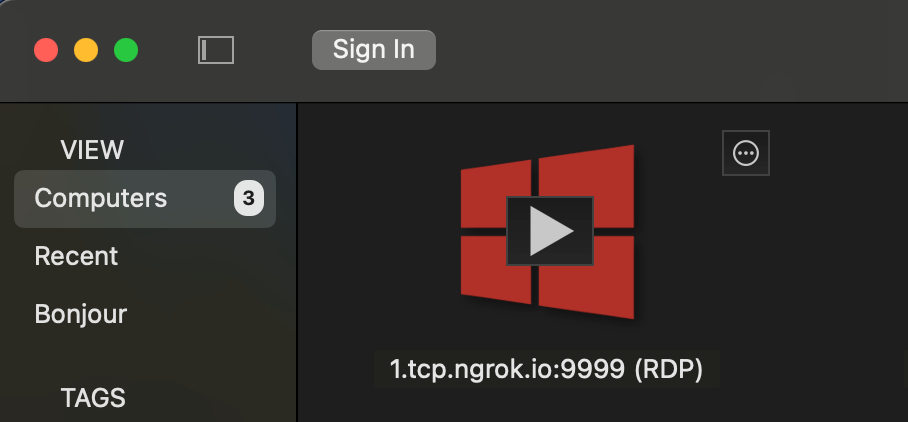
5. Use the Microsoft Remote desktop client on Mac or Windows to connect any 3rd party client supporting RDP.
I'm using Jump Desktop again since it supports VNC and RDP connections on custom ports. You may find the Microsoft RDP client lacks the options you want.
Happy tunneling!
Appendix
For added security, I highly recommend setting up Endpoints and IP Policies in Ngrok to ensure you're tunnels are secure. Once set up, they can be applied to your TCP tunnel, allowing you to whitelist access from certain locations, for instance, your workplace.