Remote work vNext - Level up your home office setup
In my opinion, Remote is here to stay. Companies that have embraced this will likely lead the pack to the most desirable places to work and are already innovating and transforming shared workspaces, embracing frequent travel, and offering home office perks.
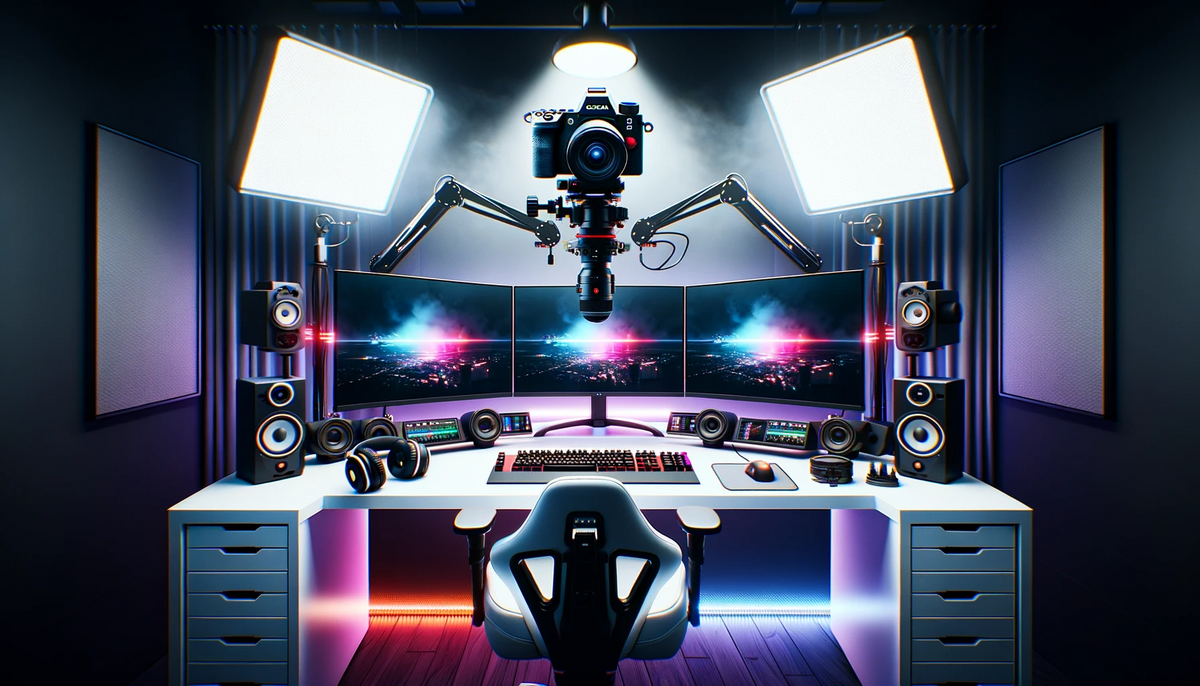
In my opinion, Remote is here to stay. I realize some companies struggle to accept that, but I feel this outcome has been inevitable for a while now, and we've been trending this way in tech for years. Companies that have embraced this will likely lead the pack to the most desirable places to work and are already innovating and transforming shared workspaces, embracing frequent travel, and offering home office perks. I've spent most of my career as a remote engineer and leader long before the pandemic made it compulsory for office workers globally. I've also done my fair share of commuting and working in an office, so I feel that I have a good understanding of the trade-offs in each traditional model. It's also important to note that quarantine is not remote, so this new remote world we are entering is much different than what we've been doing during the COVID-19 pandemic. I say that to contextualize my investments and encourage you to read more about what others are saying about the future of work. The goal of this post is to inspire your home office setup and perhaps give you some ideas on how you can take that experience on the road as we begin to meet and gather with our co-workers in person from time to time.
So let's get into the gear!
Get comfortable
I strongly recommend carving out some dedicated space in your home if you can. Not only does it help get you in the work mode, but creating that physical separation can also help you unplug when you leave that space. It's easy and common to overwork or be interrupted by family if using a shared space; the better the separation, the easier it will be to create boundaries.
standing desk
Most modern offices were equipped with nice standing desks or at the very least, had a riser on a traditional desk that lifted your display and keyboard. Love them or hate them, I think most of us can agree that variety in movement during the workday is a must. A standing desk is just one of the ways to get there. There are quite a few great options now, depending on budget, but here is what I went with:
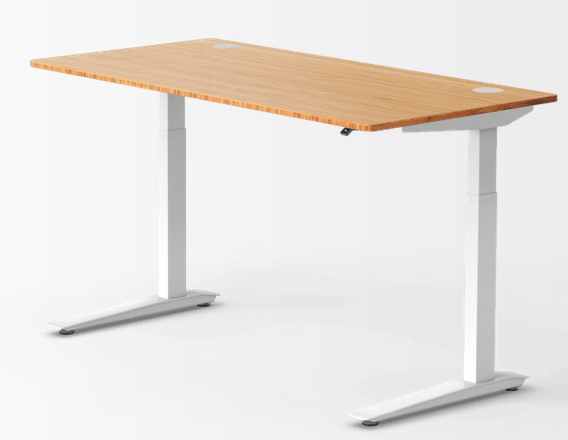
FULLY - JARVIS BAMBOO STANDING DESK
The Jarvis, like other Fully models, is customizable in size, color, finish, and accessories. Make sure to measure your space!
My build ($1,002)
- Natural bamboo
- Rectangle
- 72 x 30 (largest size)
- 3-stage frame (25.5" - 51")
- Grommets: Black
- Accessories:
- 1 Powered Grommet
- Clamp-mounted Surge protector
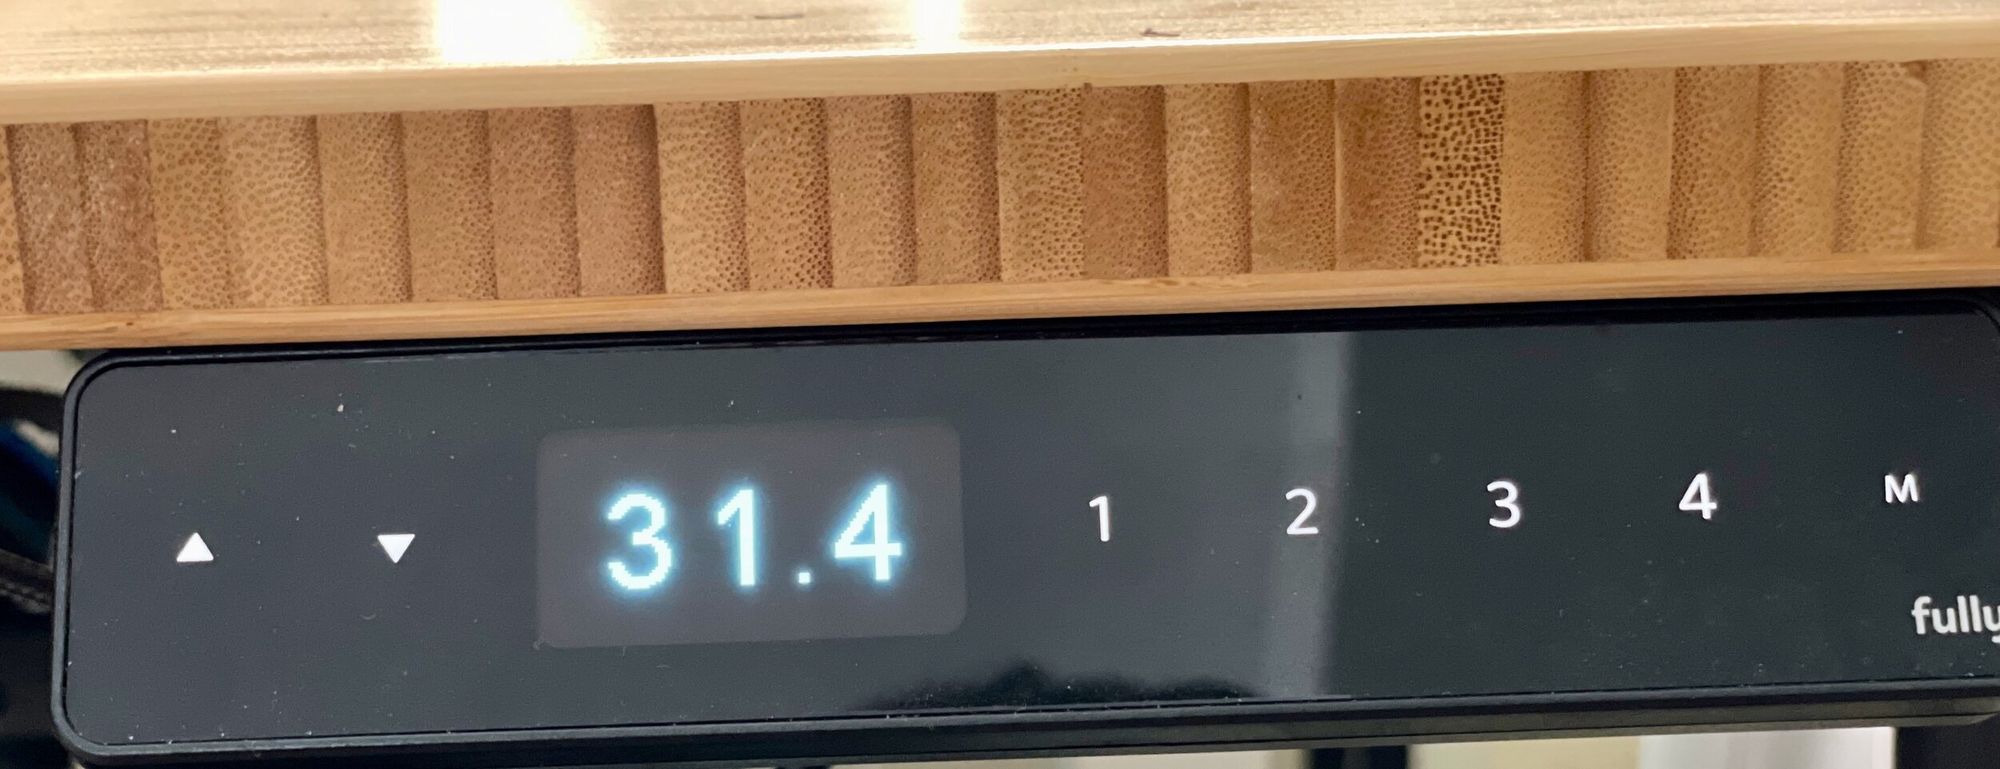
- Programmable memory
1 year in, I still love the desk. Plenty of space for all of my equipment, without being cluttered, and it's easy to mount my displays, lights, and mic. It has easy-to-use presets for the different heights I use throughout the day as well. You might also want to consider ordering their cable management since that will become unruly before you know it. They also sell display and laptop mounts that work well, along with some drawer and hook attachments. I opted out but may make sense for your setup. My advice is to shop around.
standing/leaning chair
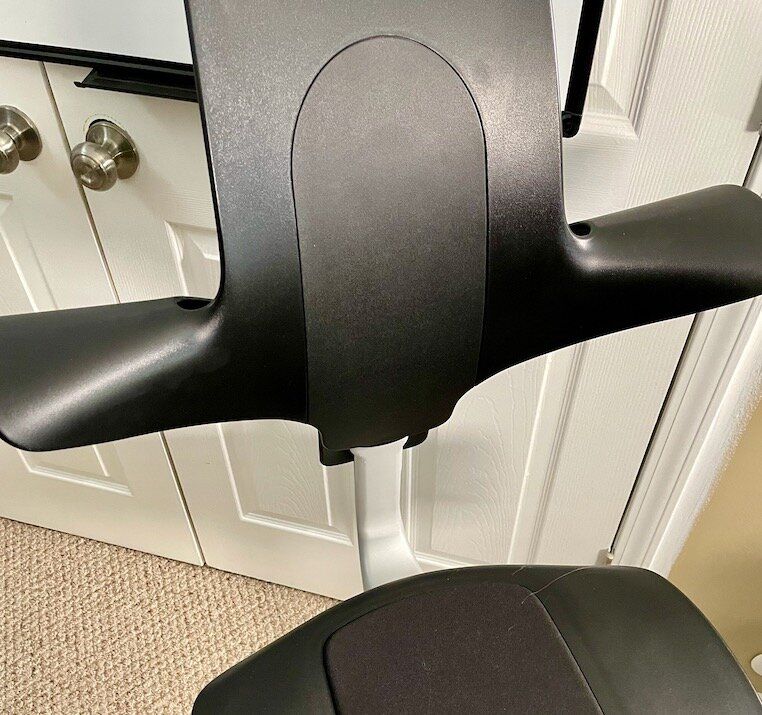
High-height chairs and stools are great options when in higher desk positions. I opted to go with a Capisco Puls by HAG, sold by Fully, but there are other options from Ikea to Herman Miller.
My build ($580)
- Capisco Puls by HAG
- Black
- Partially upholstered
I like the chair overall. Great Height and seating options. I wish I had gone with the fully upholstered option or the more expensive Capisco Chair, which is fully padded since the chair can get uncomfortable after a while. I think the idea of this chair is to shift positions frequently, but more comfort would go a long way. If you think this chair may be for you, get the padding :)
sitting chair
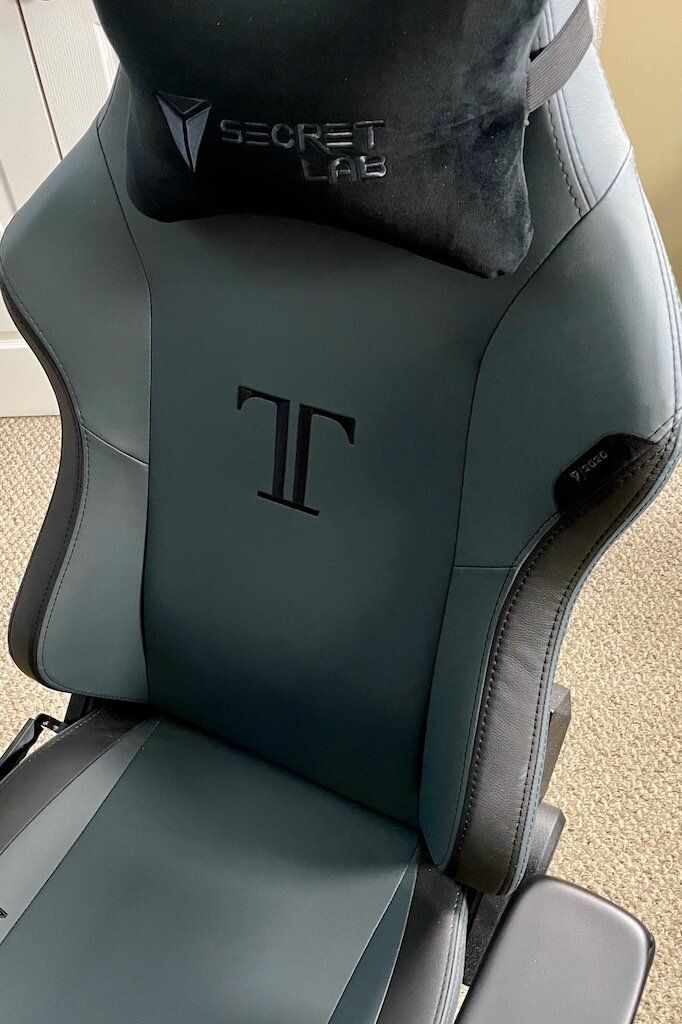
There's nothing wrong with sitting too, so if you spend hours every day on your butt, get something that is both comfortable and customizable. Thanks to the gaming community, we have some fantastic high-quality options that are 1/3 the cost of the flagship Herman-Miller or Steelcase office chairs. I opted for a Secretlab gaming chair, which has some customizable options based on size/height, style, and fabric preference.
- Titan 2020 Series ($399)
- PRIME 2.0 PU Leather
- Black
- Pillow
The chair is very comfortable and I expect it to last several years. It feels sturdy and the quality feels on par with chairs that cost 2-3x more. The lumbar support is solid. No back pain and I feel like my posture has improved. I love the near-flat recline as well. If you are in the market, check out their new EVO model.
Sound matters
Sound through Meet, Zoom, Webex, etc, has been a mess for years. Conference rooms have those awful pucks, mics on most devices are omnidirectional, meaning they pick up sound in all directions, and then you have room acoustics and background noise to deal with. Now meeting software has attempted to deal with some of this with proprietary background noise filters, but that won't improve the actual quality and clarity of your voice. That one is on you, and I’m sorry to say that your pair of noise-canceling headphones, or AirPods, aren't going to get you all the way there. Don't get me wrong, built-in mics on laptops, phones, and headphones will get the job done; they just won't help you sound smarter :). More intelligent or not, clarity helps in every conversation, so if you have some money to invest, this will help guide you to solid options for your home setup.
Sound In
No filters here; just maximize those sweet pipes you were born with. The answer here is simple: get yourself a good entry-level preamp with a USB audio interface, and a vocal or podcast-tuned dynamic mic, and adjust the gain and go. Simple! Technically what I said is true; however, it matters what you choose here or it could quickly end up sounding worse or be barely audible at all. Looking at what podcasters use is a great start. You'll want a pre-amp with a high amount of gain to power even the most gain-hungry dynamic microphones...looking at you SM7B! Most importantly, a USB audio interface / DAC will allow you to use it as a live input on your computer. Most work with Mac and PC, and my specific setup would work with either.
preamp
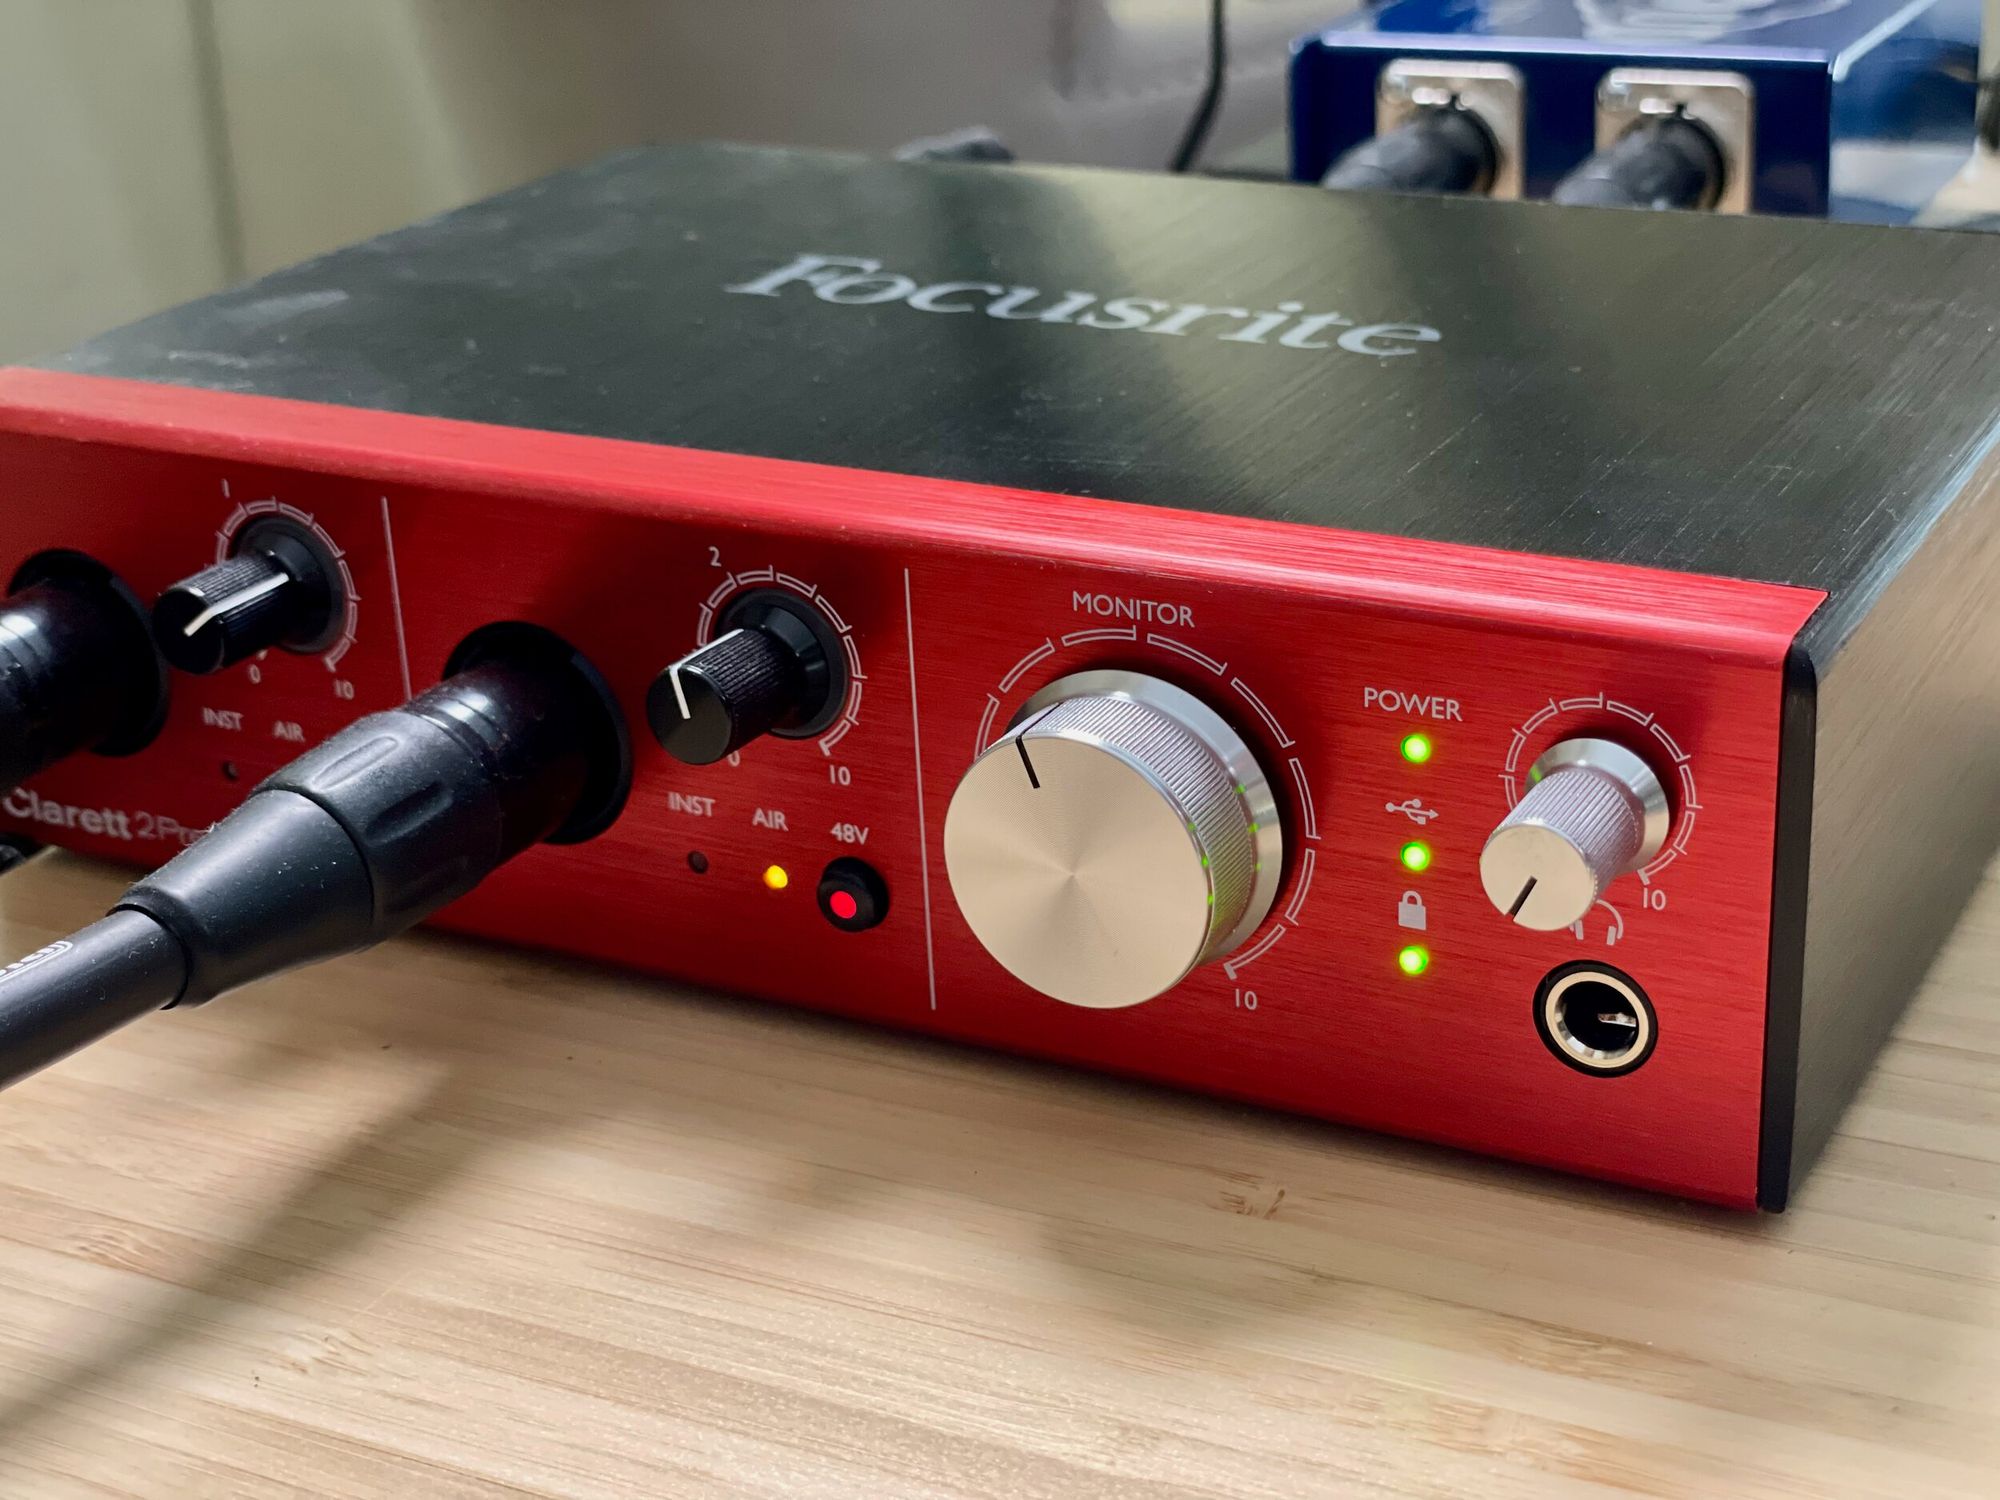
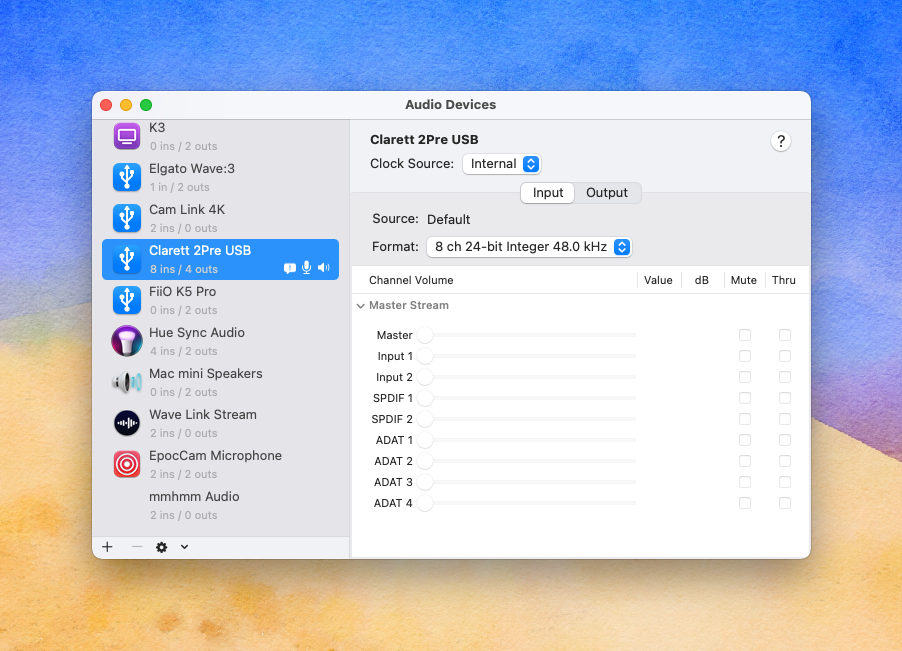
Based on my research, which included many blog posts and reviews, I started out with a Focusrite Scarlett 2i2 Gen 3. It met all of my requirements, with one input to spare, and only cost $170...sounds high, but these things can get really expensive. While the Scarlett is great, I ended up moving to the more expensive Clarett 2Pre USB, which allowed for more inputs and outputs along with better software and control. I would recommend either, depending on your needs and budget. I'll suggest a few alternatives as well.
microphone
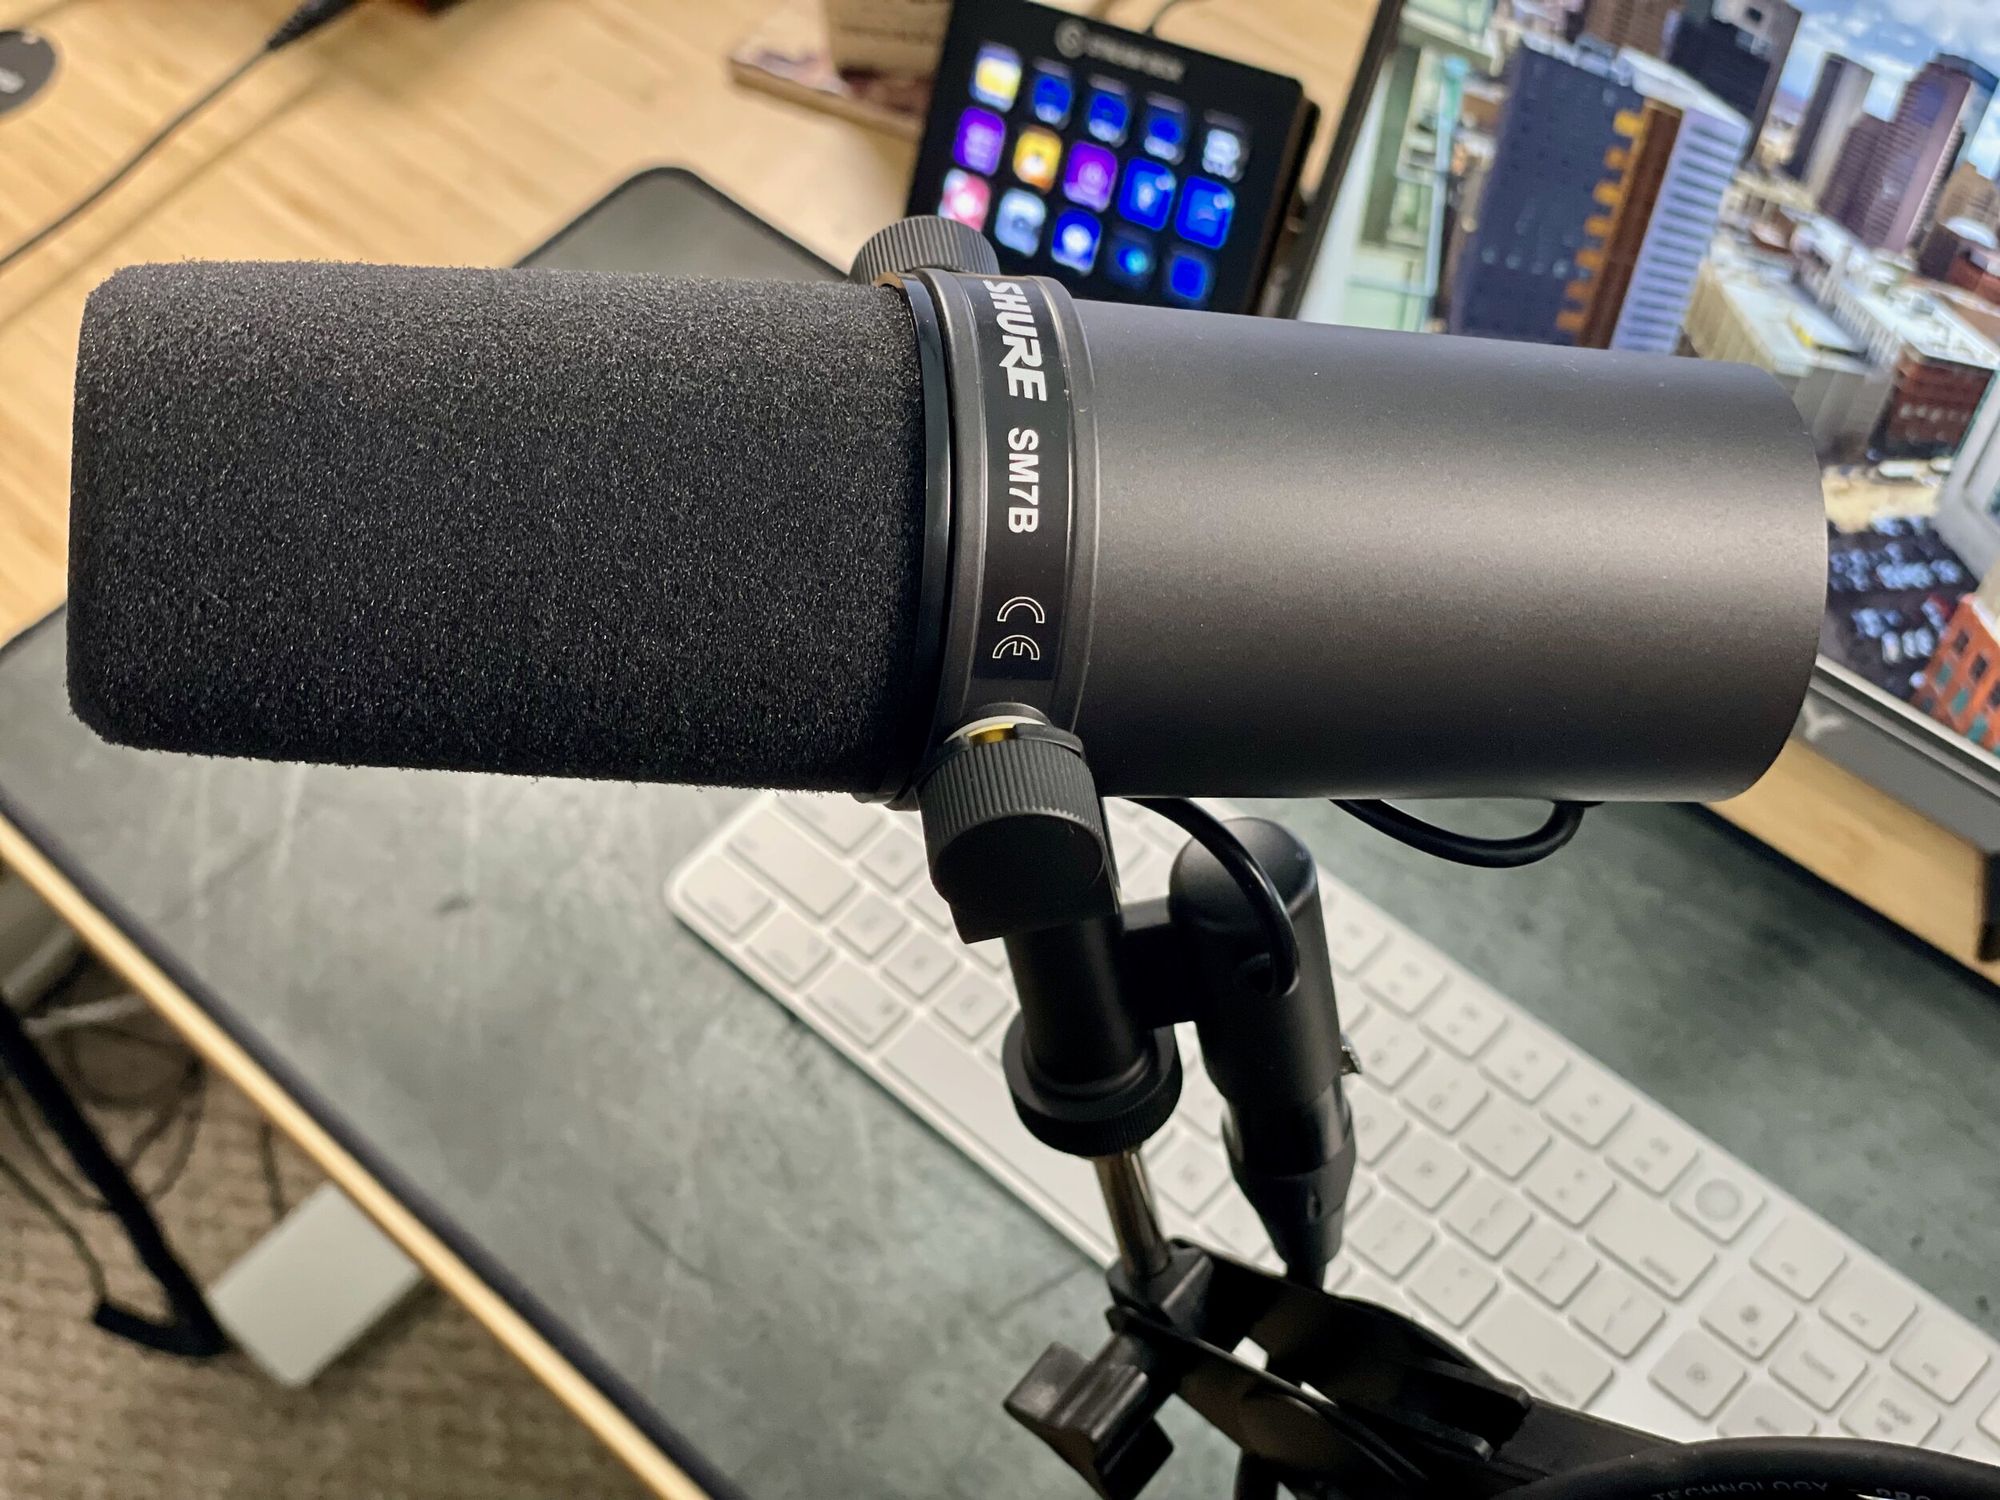
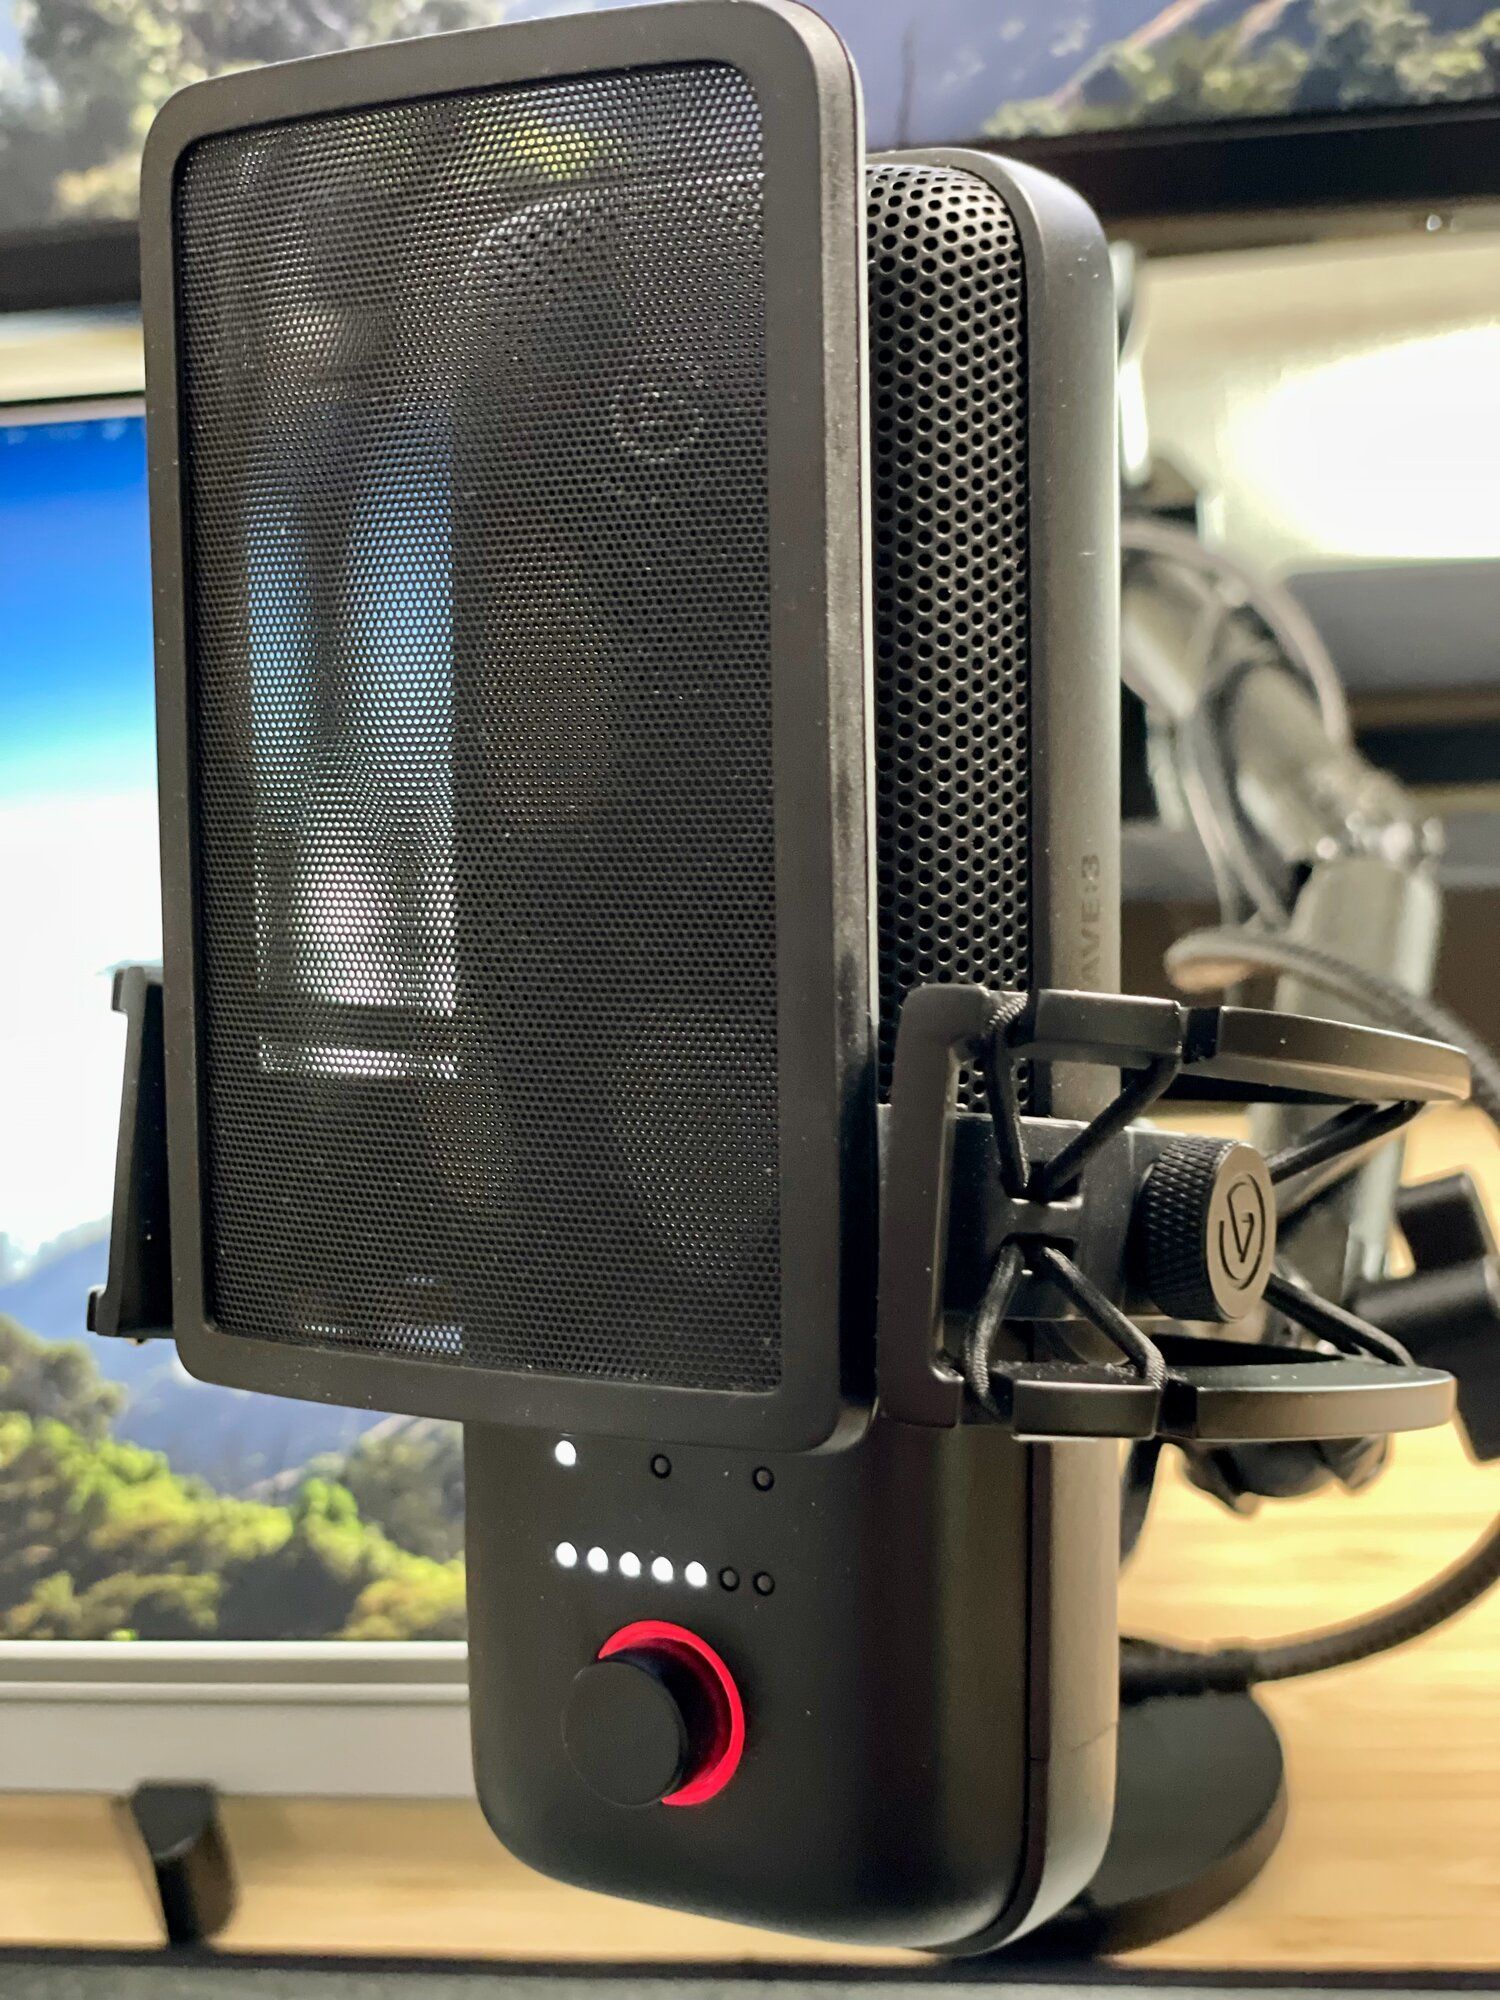
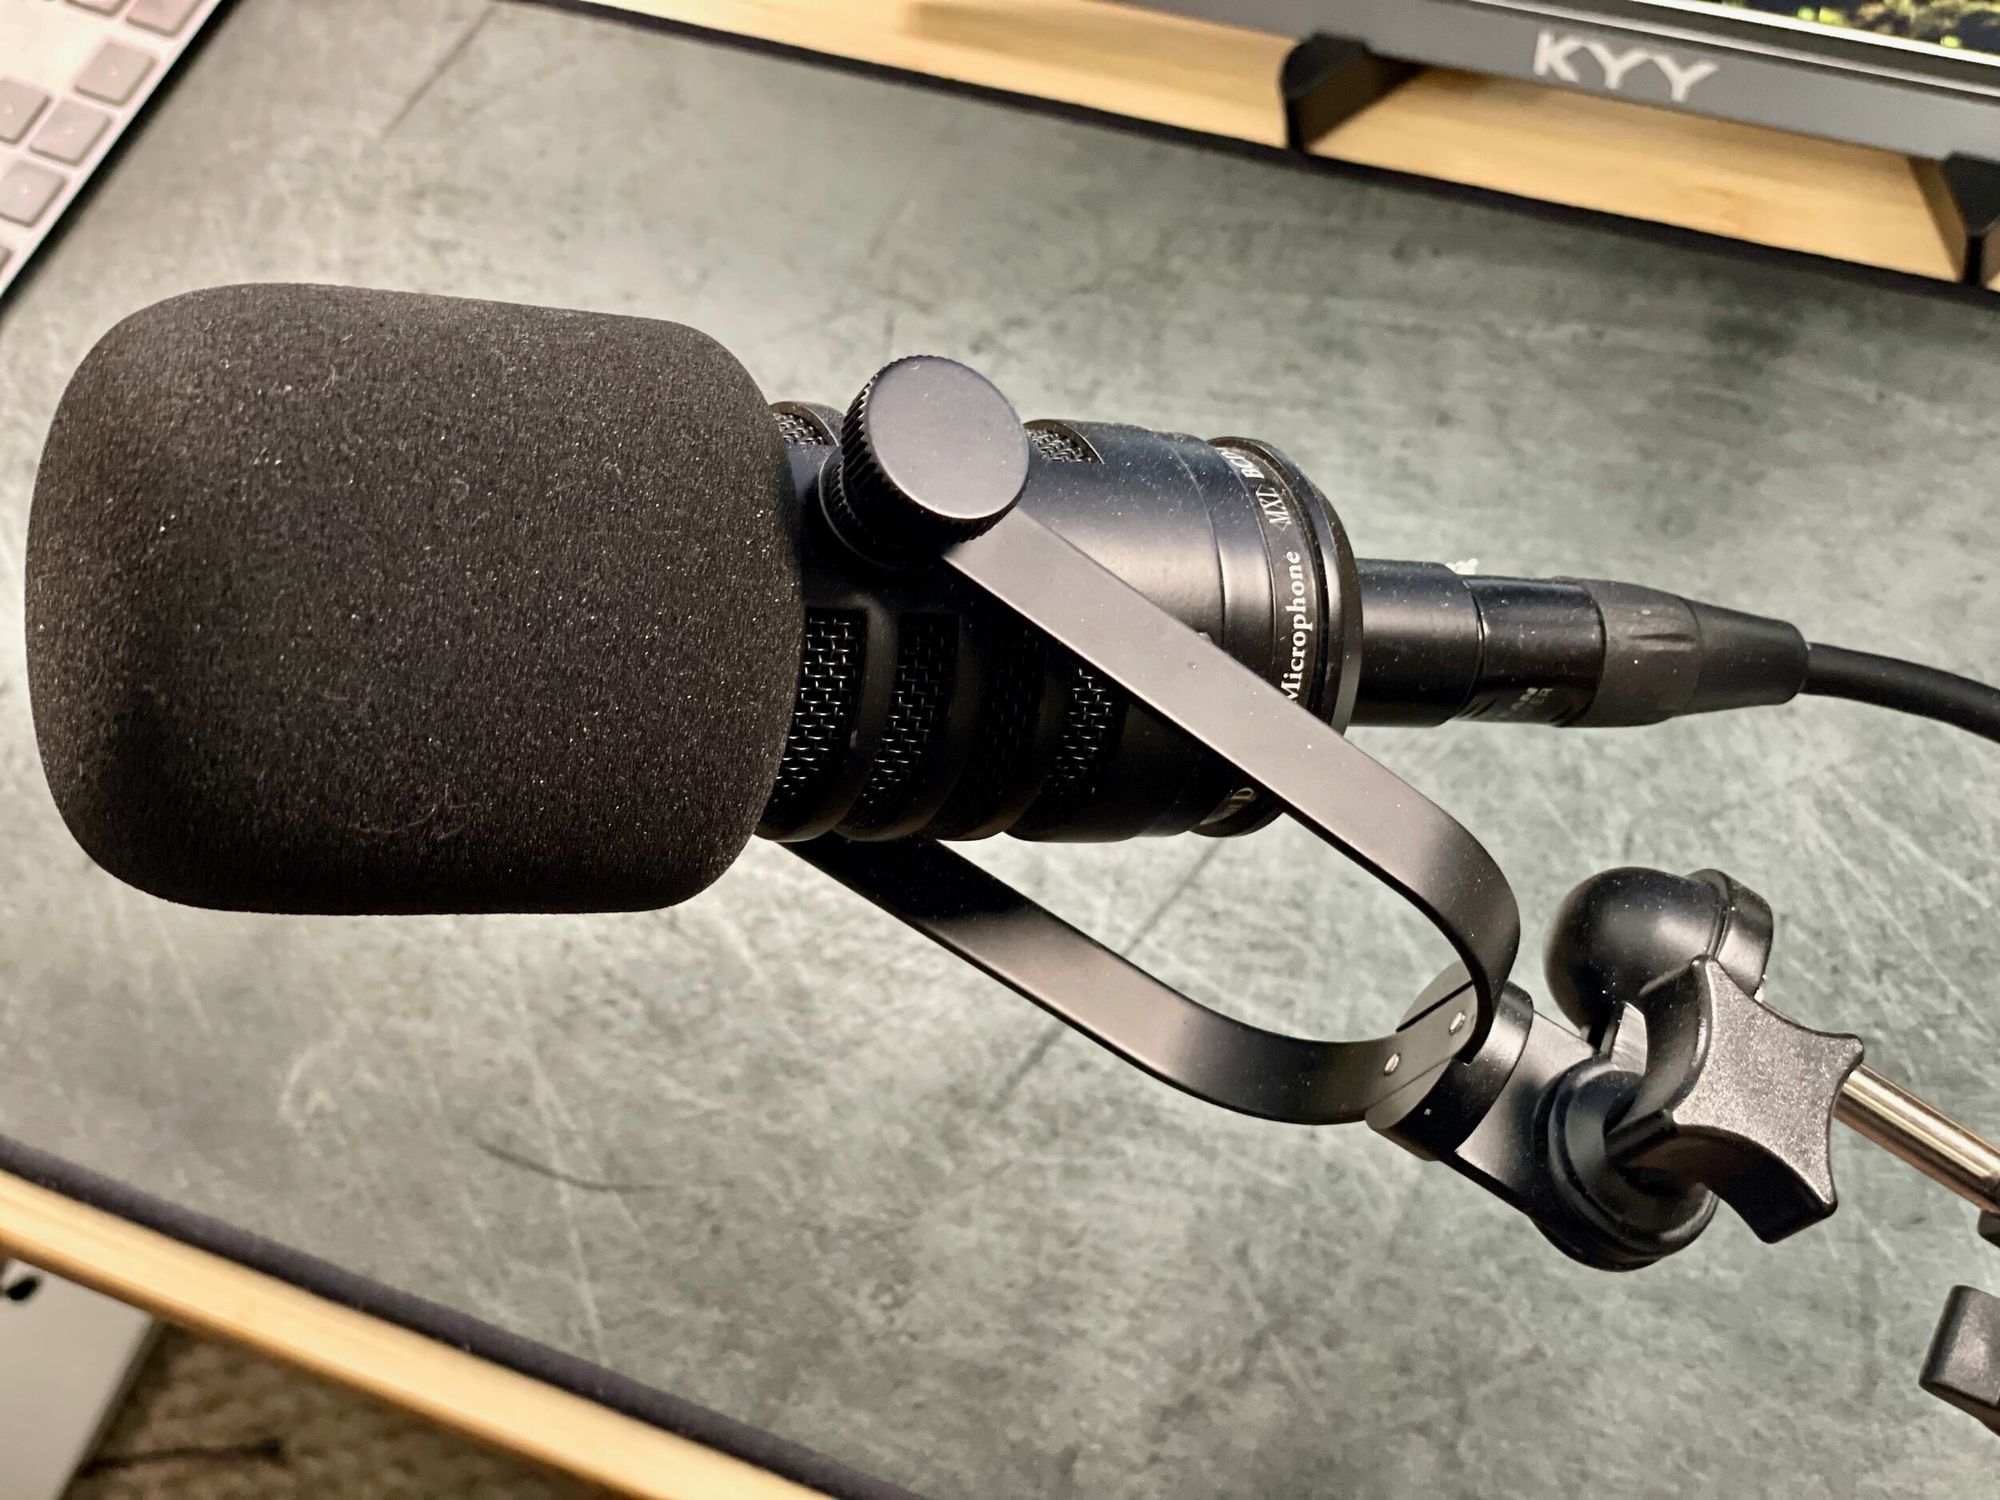
There are quite a few options here, so it's easy to get overwhelmed if you are not an audio engineer or musician. Should you be looking for a USB mic or an XLR mic, then a dynamic mic or a condenser mic? Focusing on my use case helped me quite a bit here. I wanted to focus on vocals, specifically speaking/podcasting. I also wanted both USB mic for travel & portability and an XLR mic for my permanent setup. I started with a Blue Yeti X mic, which is a very good and customizable streaming and podcasting mic, that also sounds great. I would recommend it if you can control your background noise and keep it away from typing and other related sounds. Condenser mics, this one, in particular, pick up everything. For my needs, it did not have sufficient noise isolation, and I didn't care for the Logitech software. Still a great mic, and I highly recommend giving it a shot. I then focused on XLR dynamic mics, which is a very popular category for podcasters and YouTubers. The most common mic you'll see is the near-ubiquitous SM7B, a well-tuned vocal mic from Sennheiser, and it's priced at a hefty $400 bucks. I did buy one 😀, but you can get similar quality mics for 1/3 of that cost. I landed on the MXL BCD-1 podcast mic, which sounds great with no tuning required and has decent noise isolation. On the USB side, I'm currently using the Elgato Wave:3, which is similar in many ways to the yeti, but I prefer the sound and software.
- MXL BCD-1 podcast mic ($150) Buy | Review
- Shure SM7B vocal mic ($400) Buy | Review
- Elgato Wave:3 ($160) Buy | Review
- Elgato Wave Shock Mount + Pop Filter ($60)
- InnoGear Microphone Arm Stand - Large ($60) or Elgato Wave Arm Mount ($100)
CONSIDERATIONS
If you are just looking for a good XLR USB audio interface and are not interested in the extra inputs or connecting speakers/monitors, check out the Elgato Wave XLR. It's small, easy to use, has plenty of gain to power any dynamic mic, and has phantom power for condenser mics. If you like the flexibility of a USB mic, but want the sound of an analog mic, then this is the best of both worlds. I ordered one myself to use with my laptop.
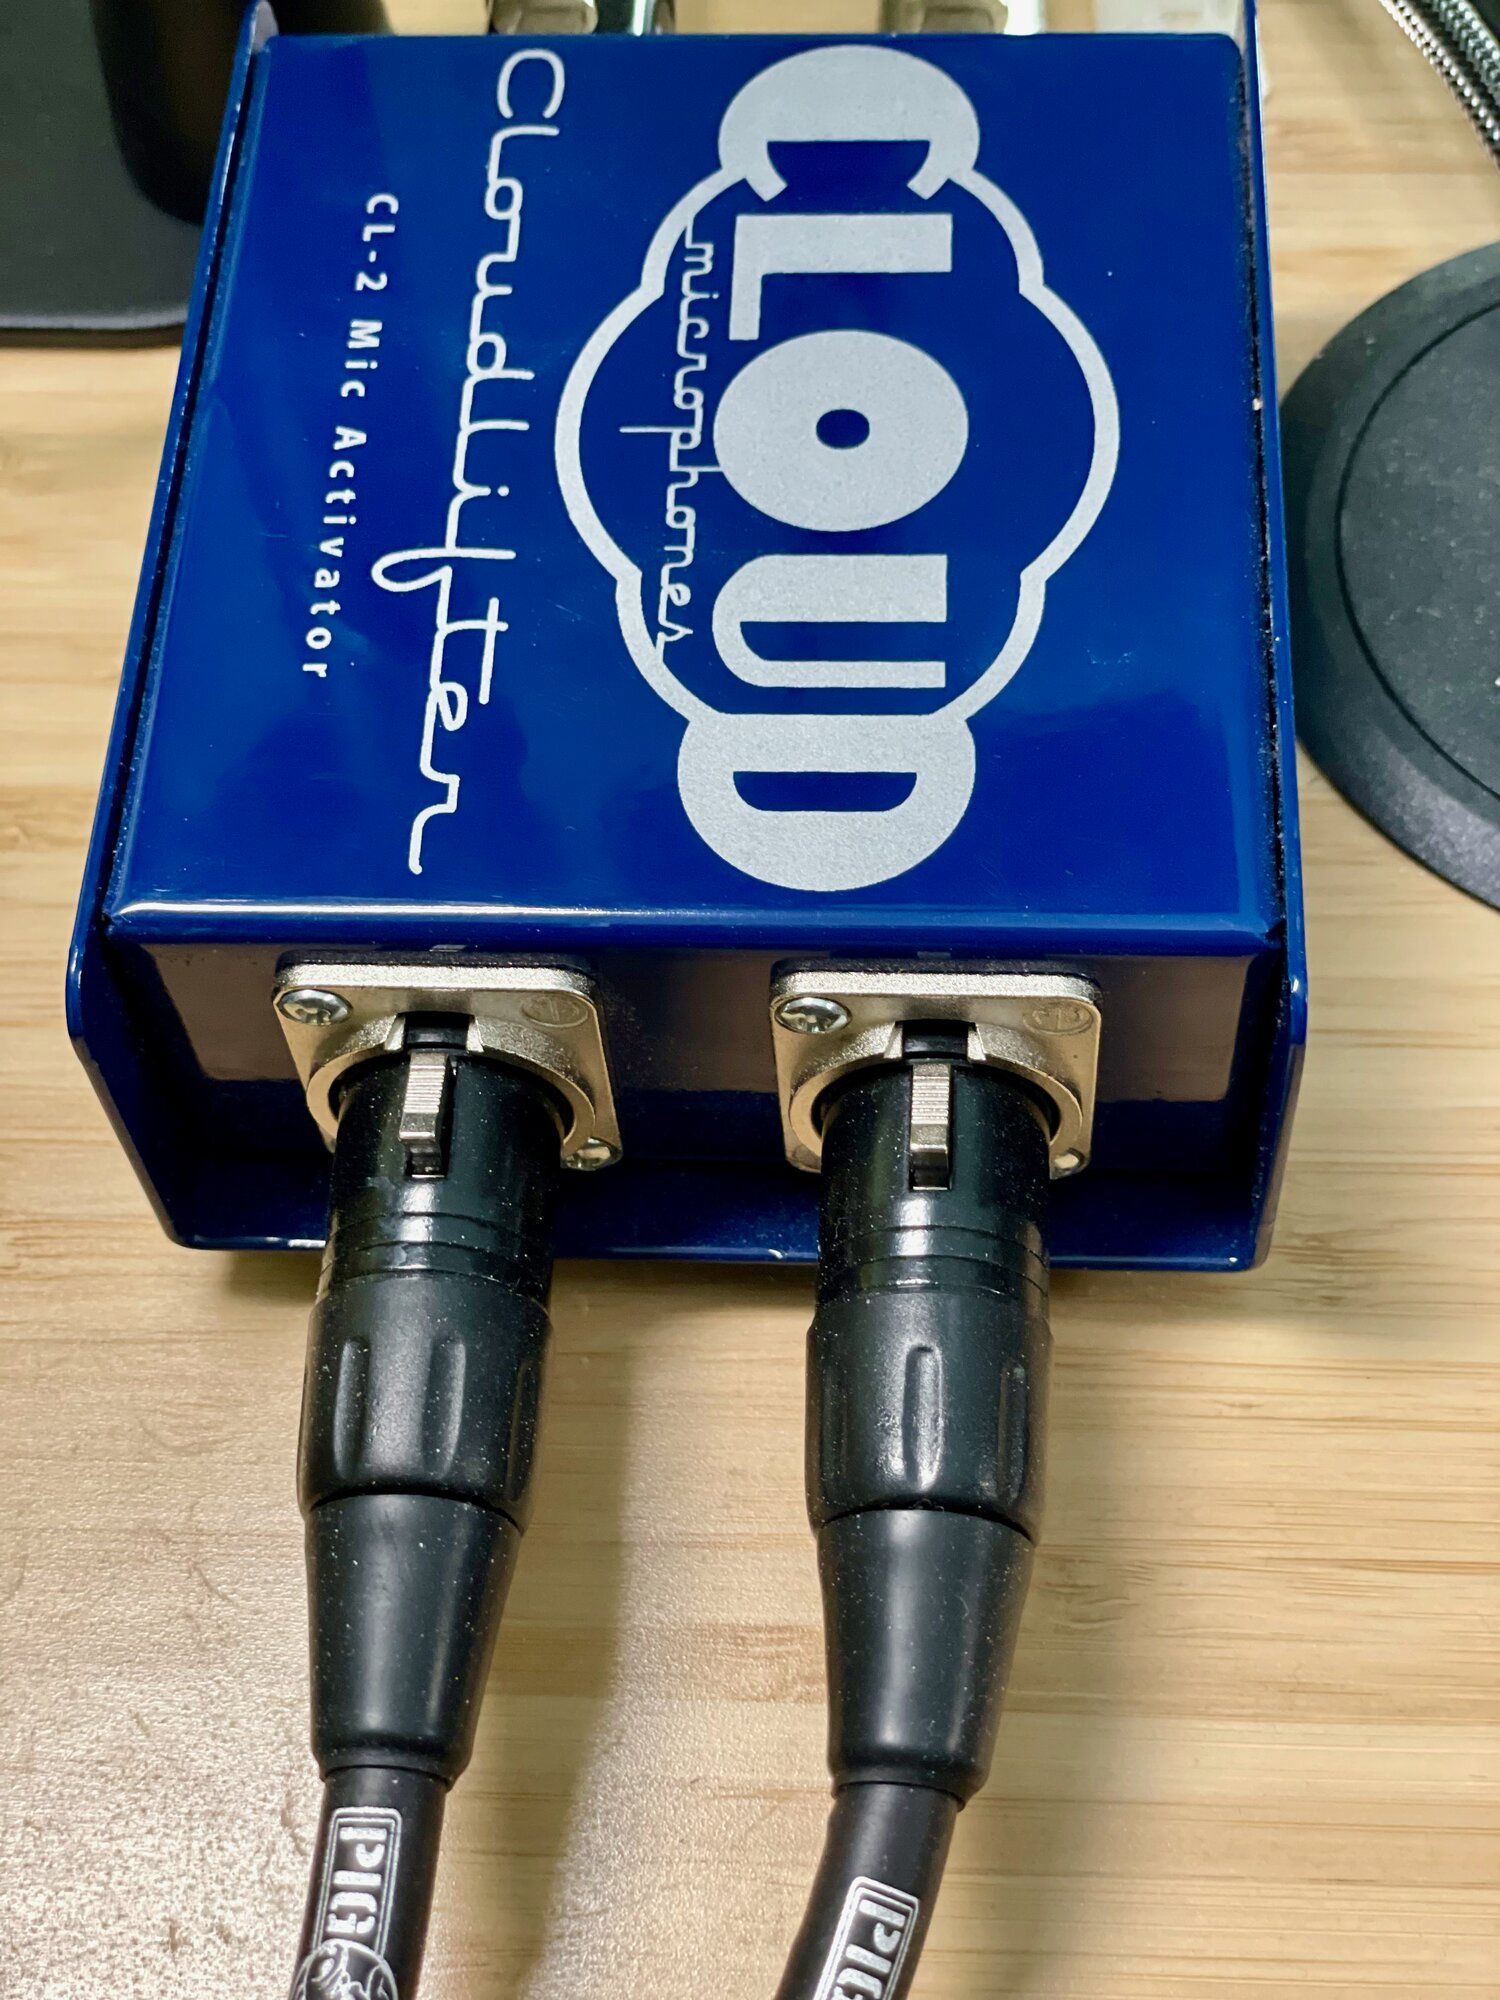
Above I mentioned finding an amp with plenty of gain power. Now while these amps sound great, for the more power-hungry mics, you'll find your gain dial all the way turned up. The best and highly recommended accessory to solve this is buying a Cloudlifter, adding another 25db of clean gain to any amp. It was a game-changer for me, but they are not cheap. Your amp will also need Phantom power, which both the Focusrite amps do, to power the Cloudlifter. This will also limit your ability to use a Phantom-powered condenser mic. I'm using the Cloudlifter CL-2 for $249, but you can opt for the CL-1 for $149 to save some money.
Buy some quality balanced XLR cables to interconnect your amp with your cloud lifter and a longer cable for your mic. I'm using these Pig Hog cables, but any premium cable should be fine.
I recommend getting a boom arm if you use a dynamic xlr mic. They like to be close to your mouth and too much gain can start to introduce noise. There are plenty of options here, check out Amazon to find one that fits your desk and works for you. When you want space between you and the mic, you can start to look into quality shotgun mics, which are expensive, or do what I do and switch to a good USB mic. If you are feeling next level here and are happy to spend 1k on a mic, then by all means, pick up a Sennheiser Pro Audio MKH416-P48U3 shotgun mic. I would love one, can't justify that....yet :)
Sound Out
SPEAKERS
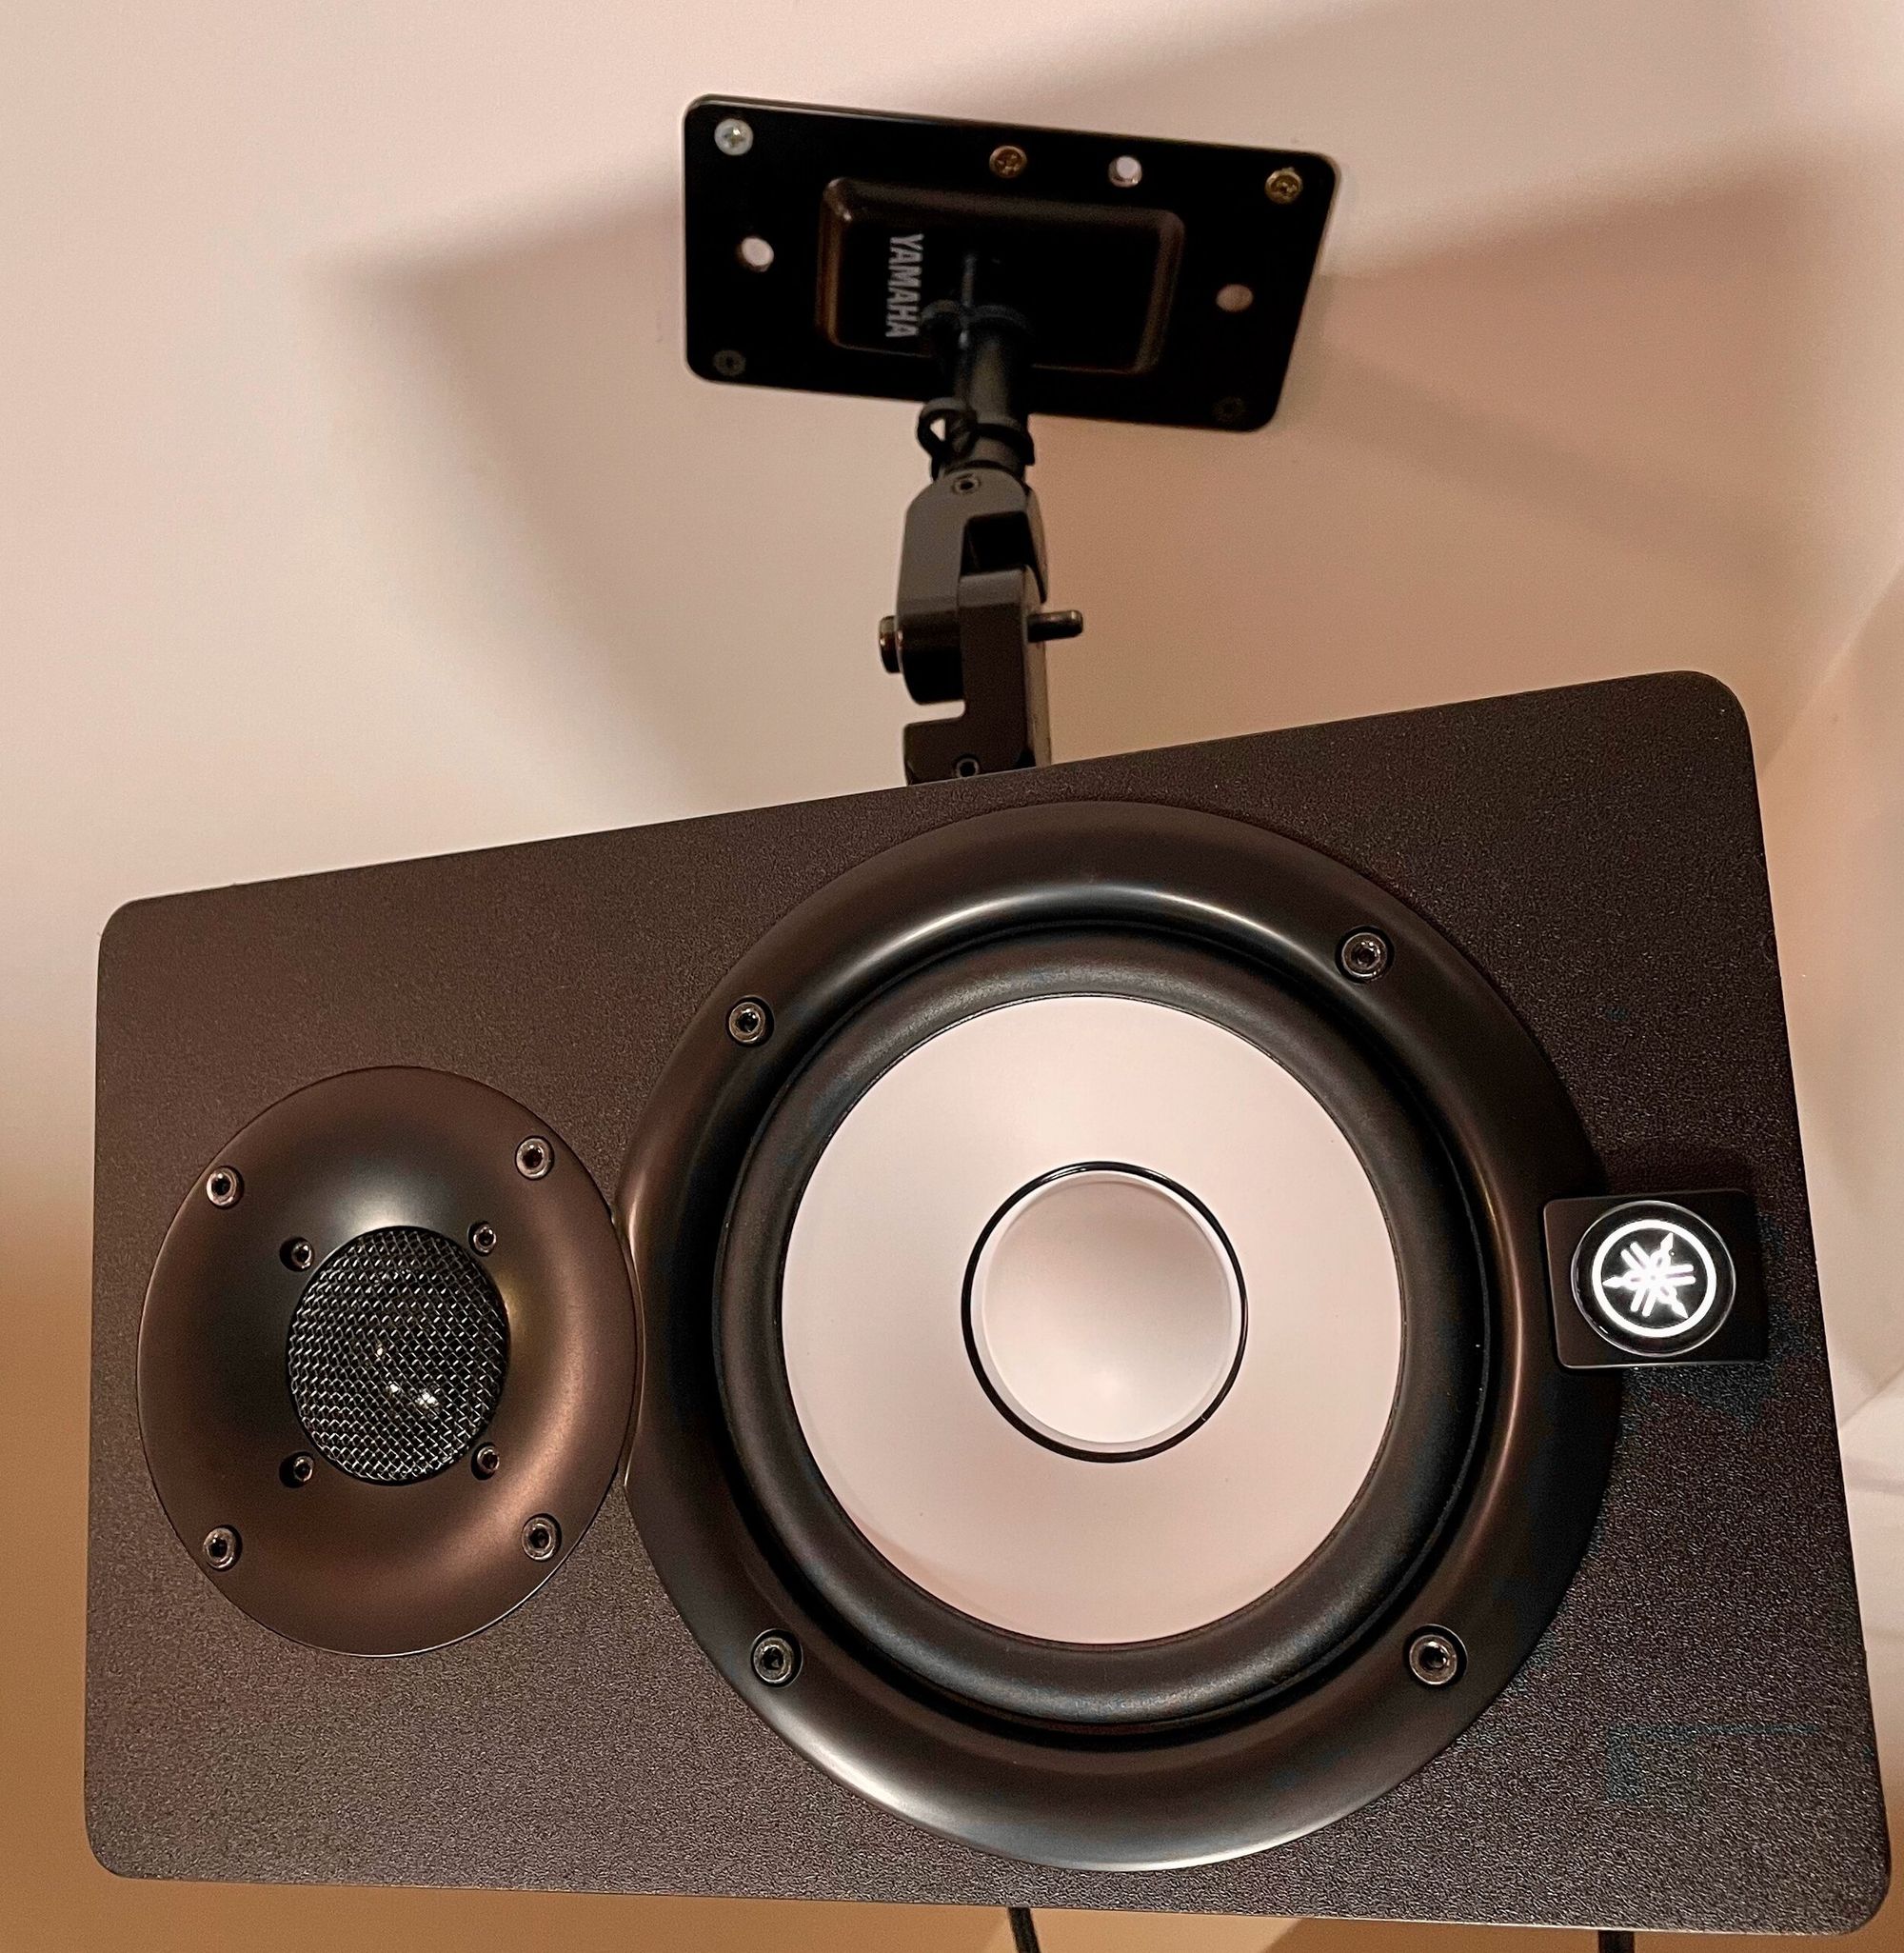
Now that you have your preamp, it's time to invest in some good self-powered studio monitors. You don't have to go crazy here to get some decent sound for your home setup. I started with a pair of these highly-rated PreSonus Eris Studio Monitors. They are pair of 3.5" speakers, and I think they sound great for their size. Small footprint as well. PreSonus does make more powerful speakers, but I can only vouch for the small ones. I eventually moved to a larger set of Yamaha speakers, the HS5I Studio Monitor...the smallest in the series. I also wall-mounted them, so I opted for the model with the mounting points.
- 2 x Yamaha HS5I Studio Monitor ($230) Buy | Review
- 2 x Yamaha BWS20-190 Ceiling/Wall mount ($75)
- Yamaha NS-SW100 Subwoofer ($160)
CONSIDERATIONS
Depending on your speaker choice, you want good balanced TRS (amp to speaker) cables or TRS (from amp) to XLR (speaker) cables. Check Amazon; plenty of affordable options; just read the reviews. I'm using these Pig Hog cables, which you can also find on Amazon.
Add a subwoofer. If you have a powered sub that you are not using or can repurpose, you can add that to this setup. Yamaha also makes a matching subwoofer to complement the HS monitors. I happened to have a sub I wasn’t using, so I just added a TRS to RCA adapter, added the sub to my mix on my preamp, and I was good to go.
WIRED HEADPHONES
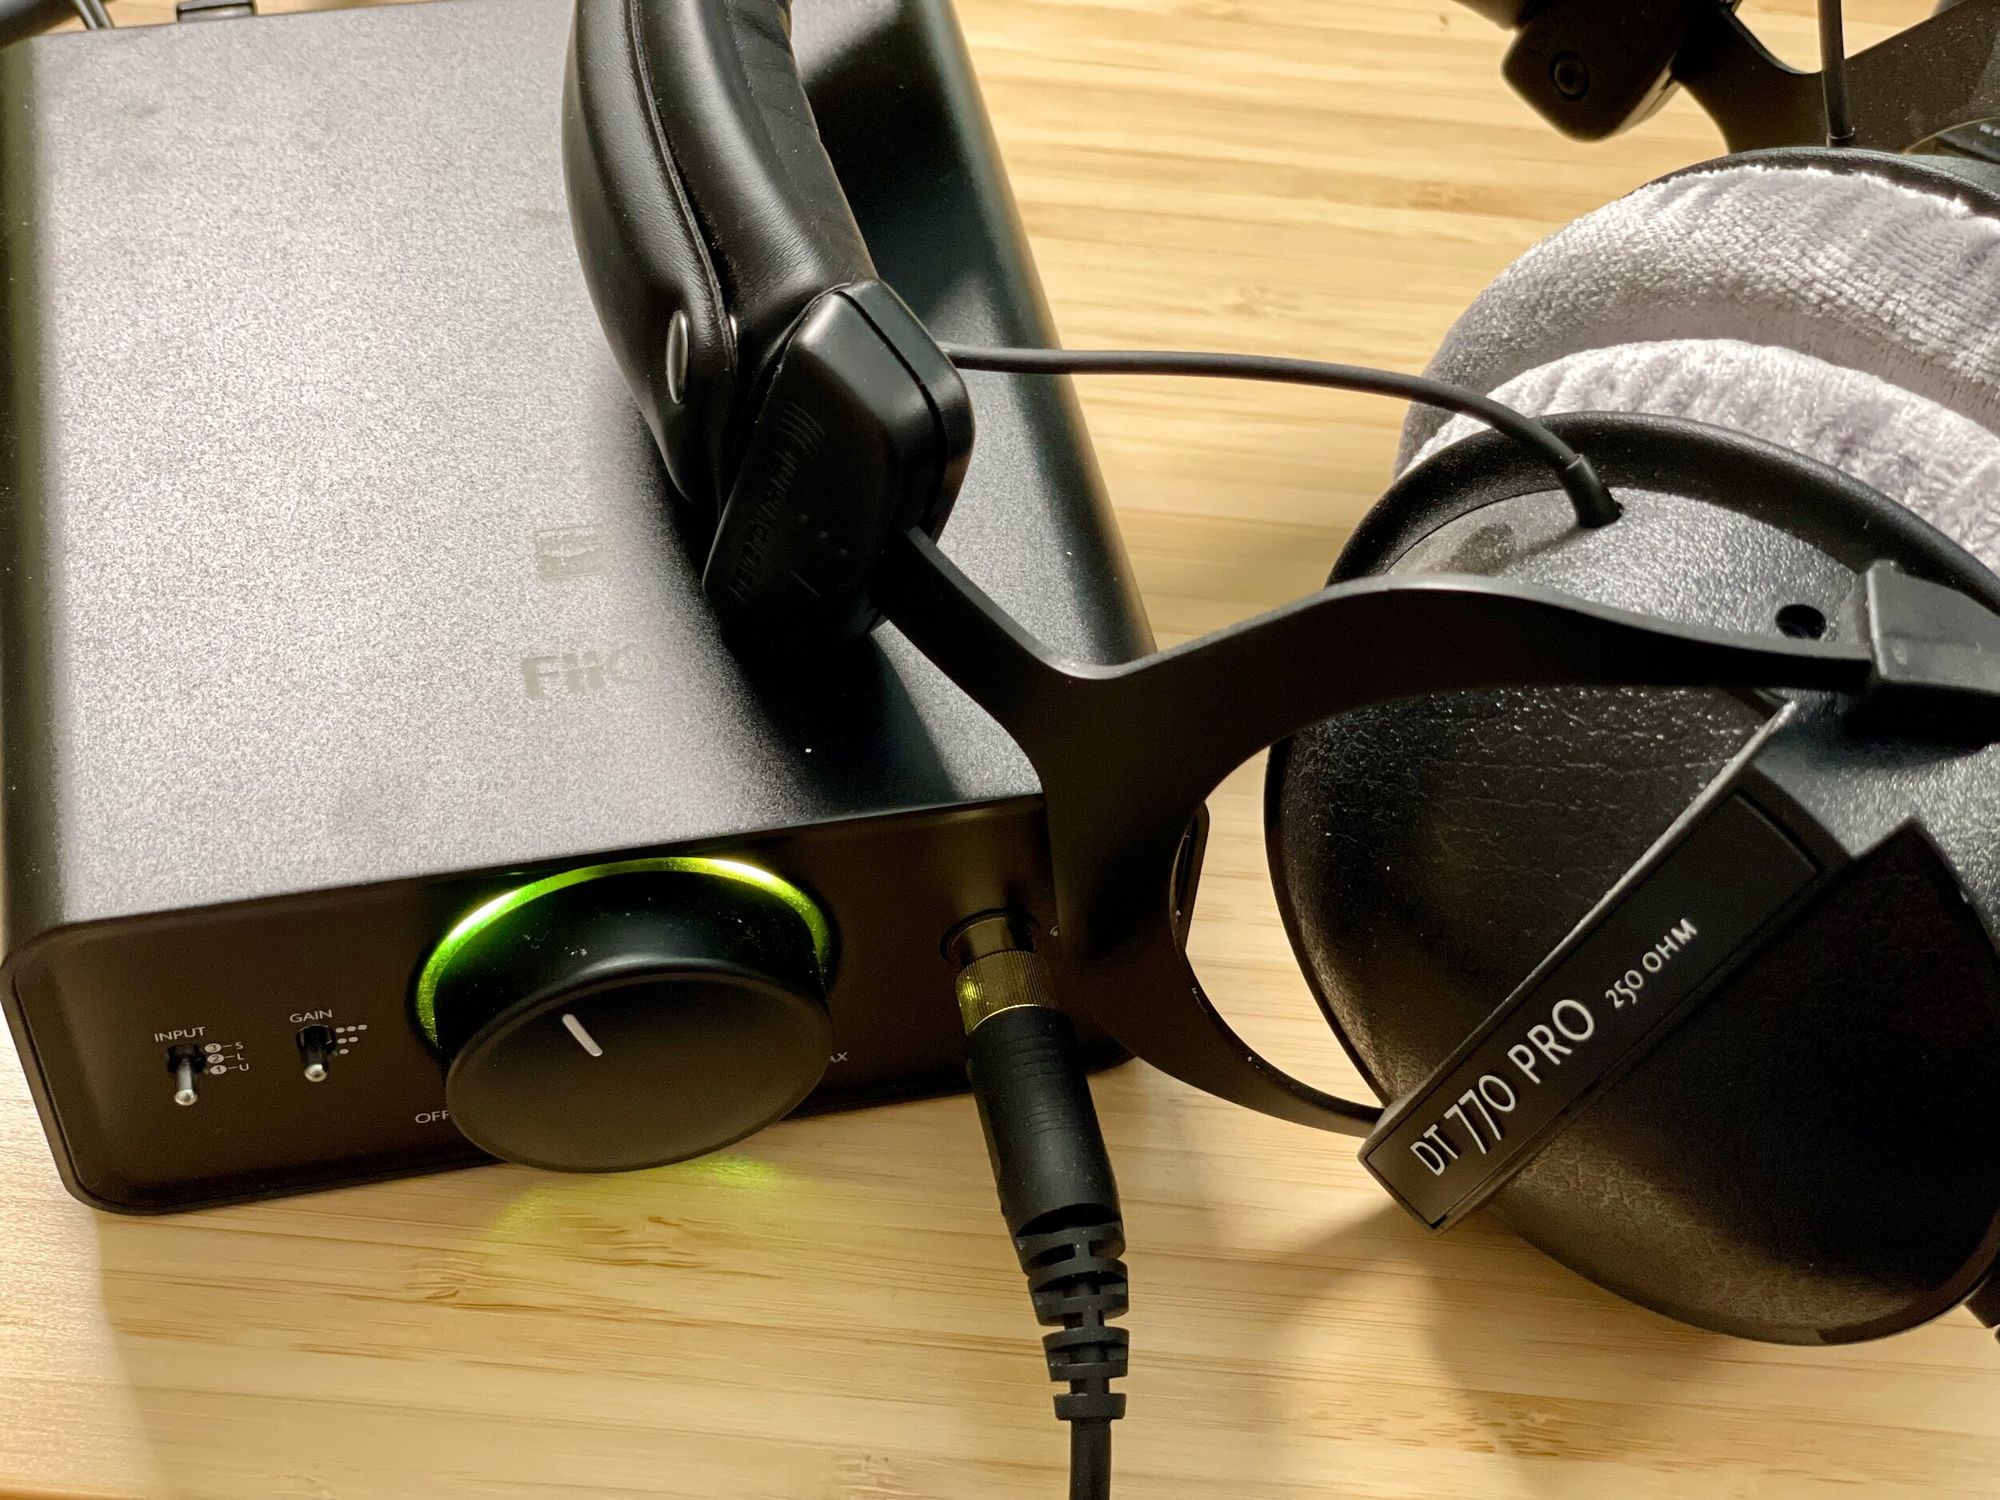
Depending on where you land on the Audiophile scale, there are quite a few options. I do recommend getting a decent pair that you can use with your Preamp to both monitor your mic/mix and that is comfortable to wear all day. I use a mix of room monitors and my headphones depending on house noise and the need for privacy. I'm currently using the very affordable and respectable Beyerdynamic DT 770 Pro. They come with low, medium, and high impedance options. Given that most preamp headphone amps are fairly weak, including both Focusrite models above, stick with the lower impedance. The more Ohms, the more power is required to crank up the volume. Stick with the 32 or the 80 OHM models unless you plan to use a dedicated headphone amp with more power. 32 if you also plan to use them with your laptop or phone. Those who know what the heck I'm talking about will know what's right for them or they already have a killer pair of headphones with a DAC :)
If you want to step it up, check out What Hi Fi, or other great audiophile sites that keep a maintained list of current models.
WIRELESS HEADPHONES WITH ACTIVE NOISE CANCELING
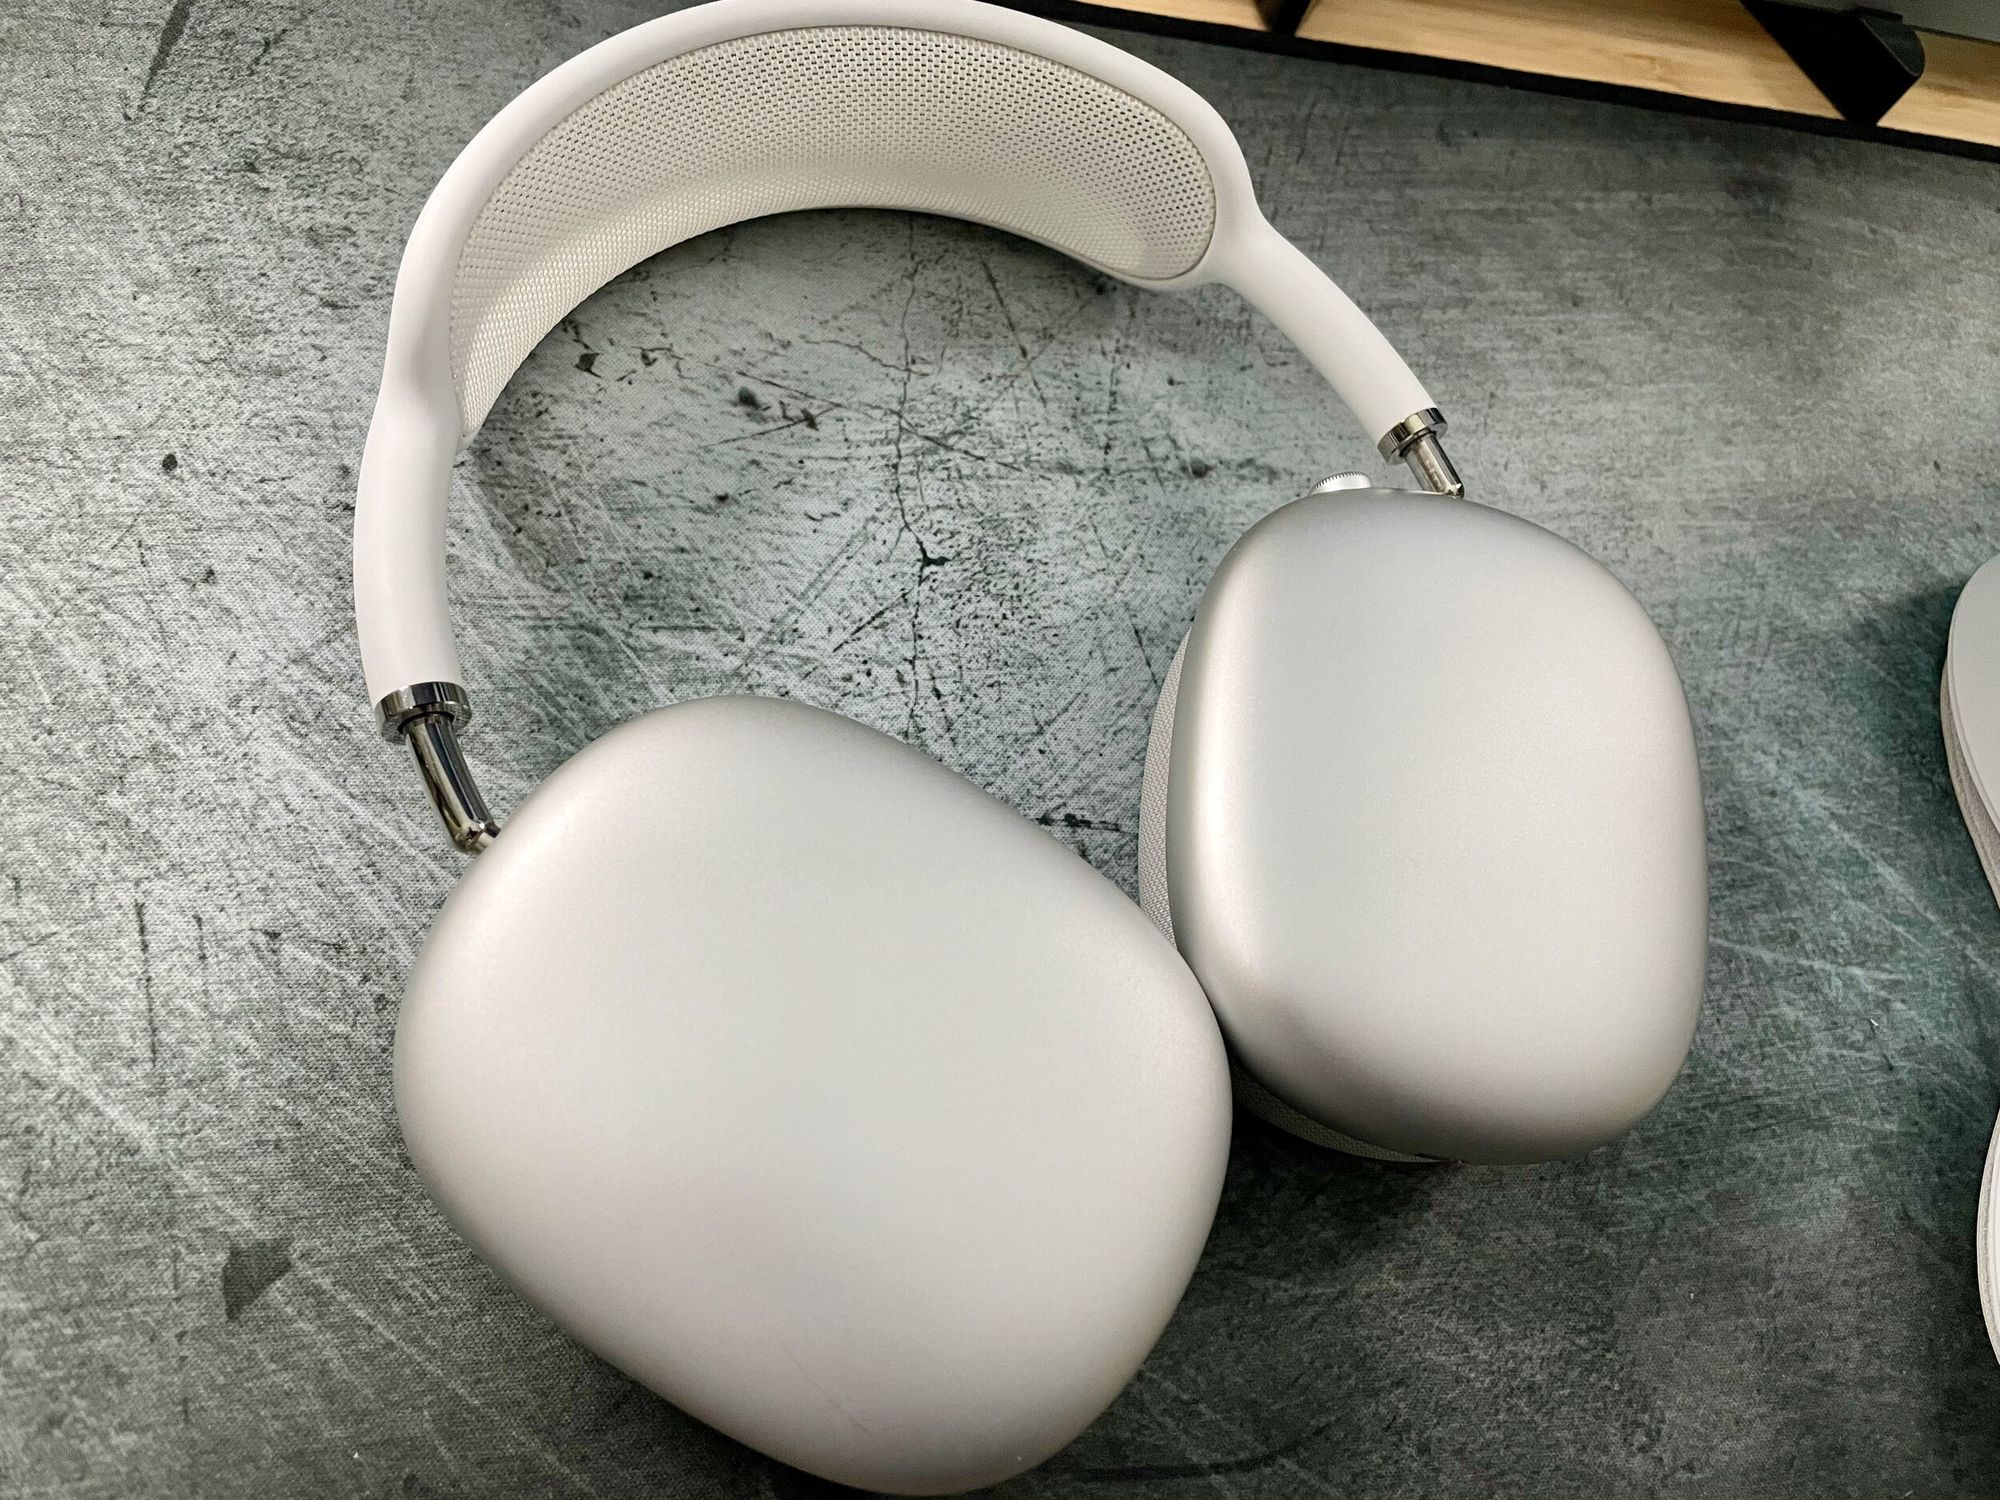
I've owned nearly every high-end headphone in this category and would only recommend two pairs. If you're all in on Apple, then the Airpods Max are the way to go. I'm currently using them and am very happy with that choice. If you use any non-Apple devices, then the Sony MX4's is where it's at. Both have stellar audio quality, good microphones, active noise canceling, transparency modes, buttons/touch controls, and support lossless audio over Bluetooth. I've owned and returned the Bose 700's (sound, microphone), the Sennheiser Momentum's (microphone, weight), the Bowers and Wilkins PX7 (microphone, noise-canceling). All $300 plus and all good at many things, so if you have them, keep them. There are also in-ear models to consider, but my recommendations would stay the same for their in-ear counterparts, the AirPods Pro and the Sony WF MX4.
- Airpods Max ($549)
- AirPods Pro ($249)
CONSIDERATIONS
I did add a dedicated headphone amp, which supports HiRes audio and a wide variety of codecs to level up my music listening experience. It sounds incredible with the right pair of headphones and, more importantly, the right audio source. I'm using the FiiO K5PRO $150, which has a wide variety of inputs, including USB, up to 768K/32-bit decoding, and selectable gain for plenty of power. It's great for what I use it for but shop around. There are some great portable options if you want to use a dedicated DAC with your phone.
Good video is underrated
An investment here really makes a big difference in the amount of control you have over your video quality and placement. Webcams may get you by, and I'll reference some options here, but there are all quite limited (with one new exception), and I would avoid them if you are looking to build a permanent office setup. They are certainly better than your terrible camera on your MacBook or iPad though, so traveling with one is a great option.
mirrorless camera
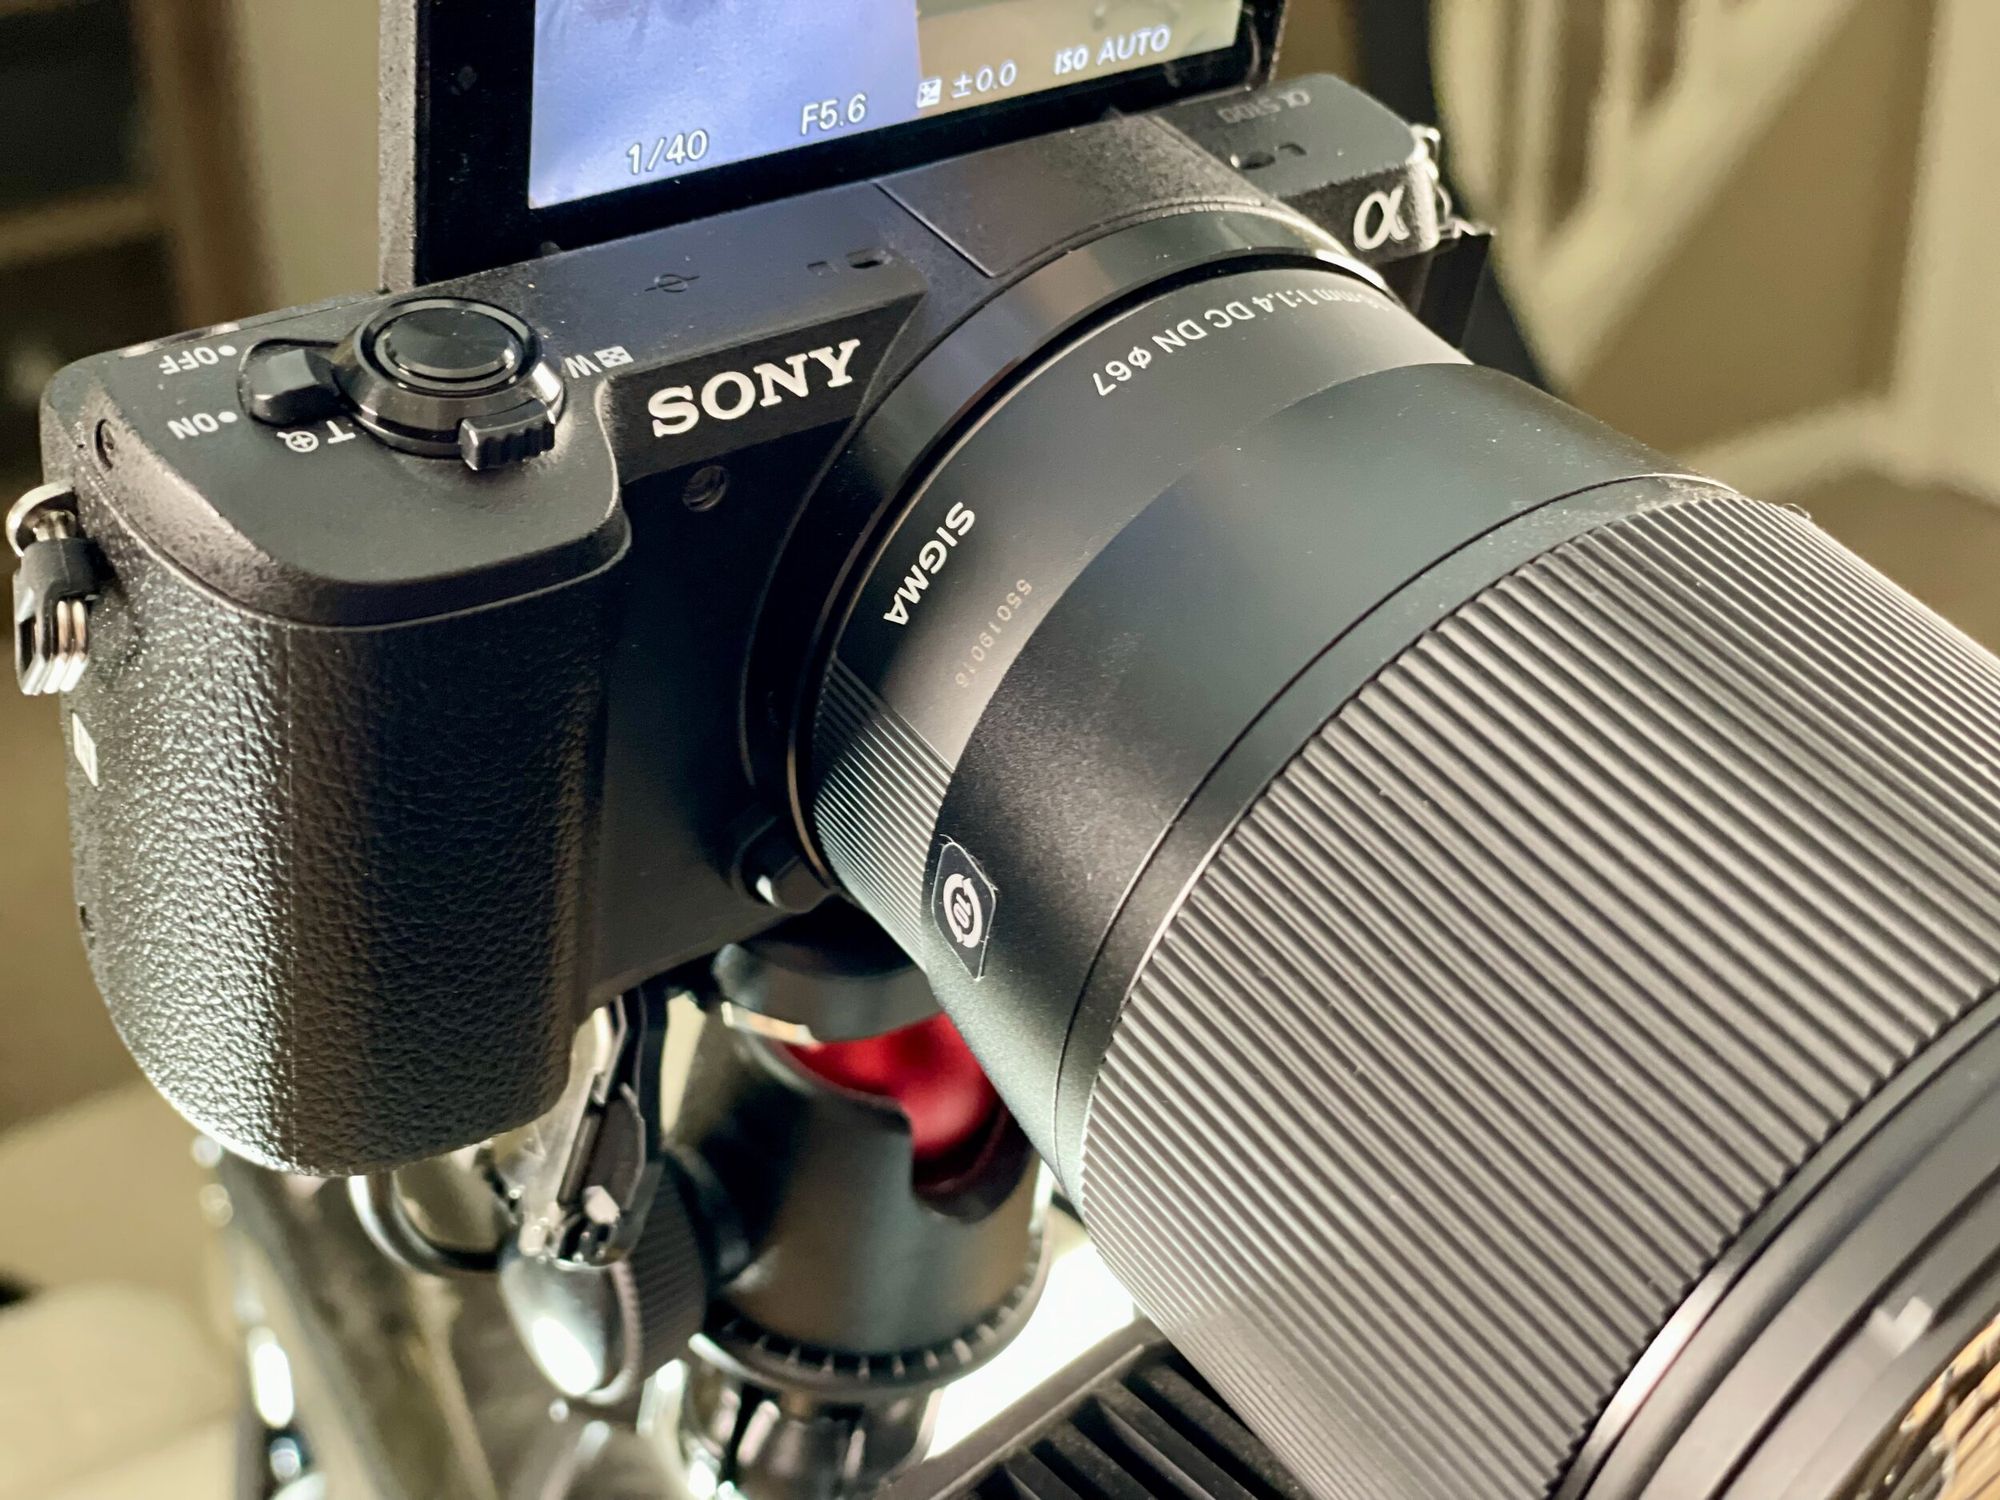
I actually landed on this solution early in the pandemic, when webcams were nowhere to be found online. After doing some research and finding some great Youtube channels like Alpha Gaming, DSLR Video Shooter, and others I decided to go with a mirrorless camera and capture card setup. I started with a Sony Alpha 5100 camera, which Sony no longer makes, however, an Alpha 6000 would have similar quality and functionality for a similar price of $330 w/o lens or $450 with the lens on eBay. What you are looking for in general, is a camera that has interchangeable lenses and supports at least 1080p of live, and clean, HDMI video output. clean meaning that none of the on-screen information you would normally see on the built-in screen shows up in the output signal. Both of these Sony cameras support clean 1080p. That live video output then flows to the capture card, which connects to your computer. Once connected, your camera becomes selectable just like any other video source or webcam.
- Sony a5100 or newer equivalent ($350-$450)
- Sony battery power adapter (keeps it on all day) ($25)
- Micro HDMI to HDMI (may vary based on camera port) ($15)
- Sigma 16mm f/1.4 Prime Lense for Sony E-mount ($380) Buy | Review
- Joby GorillaPod 3K Tripod ($40)
CONSIDERATIONS
Lenses can be expensive, so the lens your camera comes with, also known as the kit lens, is a great option to start your camera journey. Mine was a Sony 15-50mm zoom lens, which is a great beginner lens with smooth autofocus to get you up and running quickly in most conditions. After researching a few options, I opted for the Sigma 16mm prime lens with a fixed focal length (no zoom) and a larger aperture. Rather than zooming the camera to frame every day and relying on auto-focus, I could turn the camera on and go. It also works great in lower light and offers that nice bokeh efect as well, so you don't have to rely on software-based background blur.
video capture
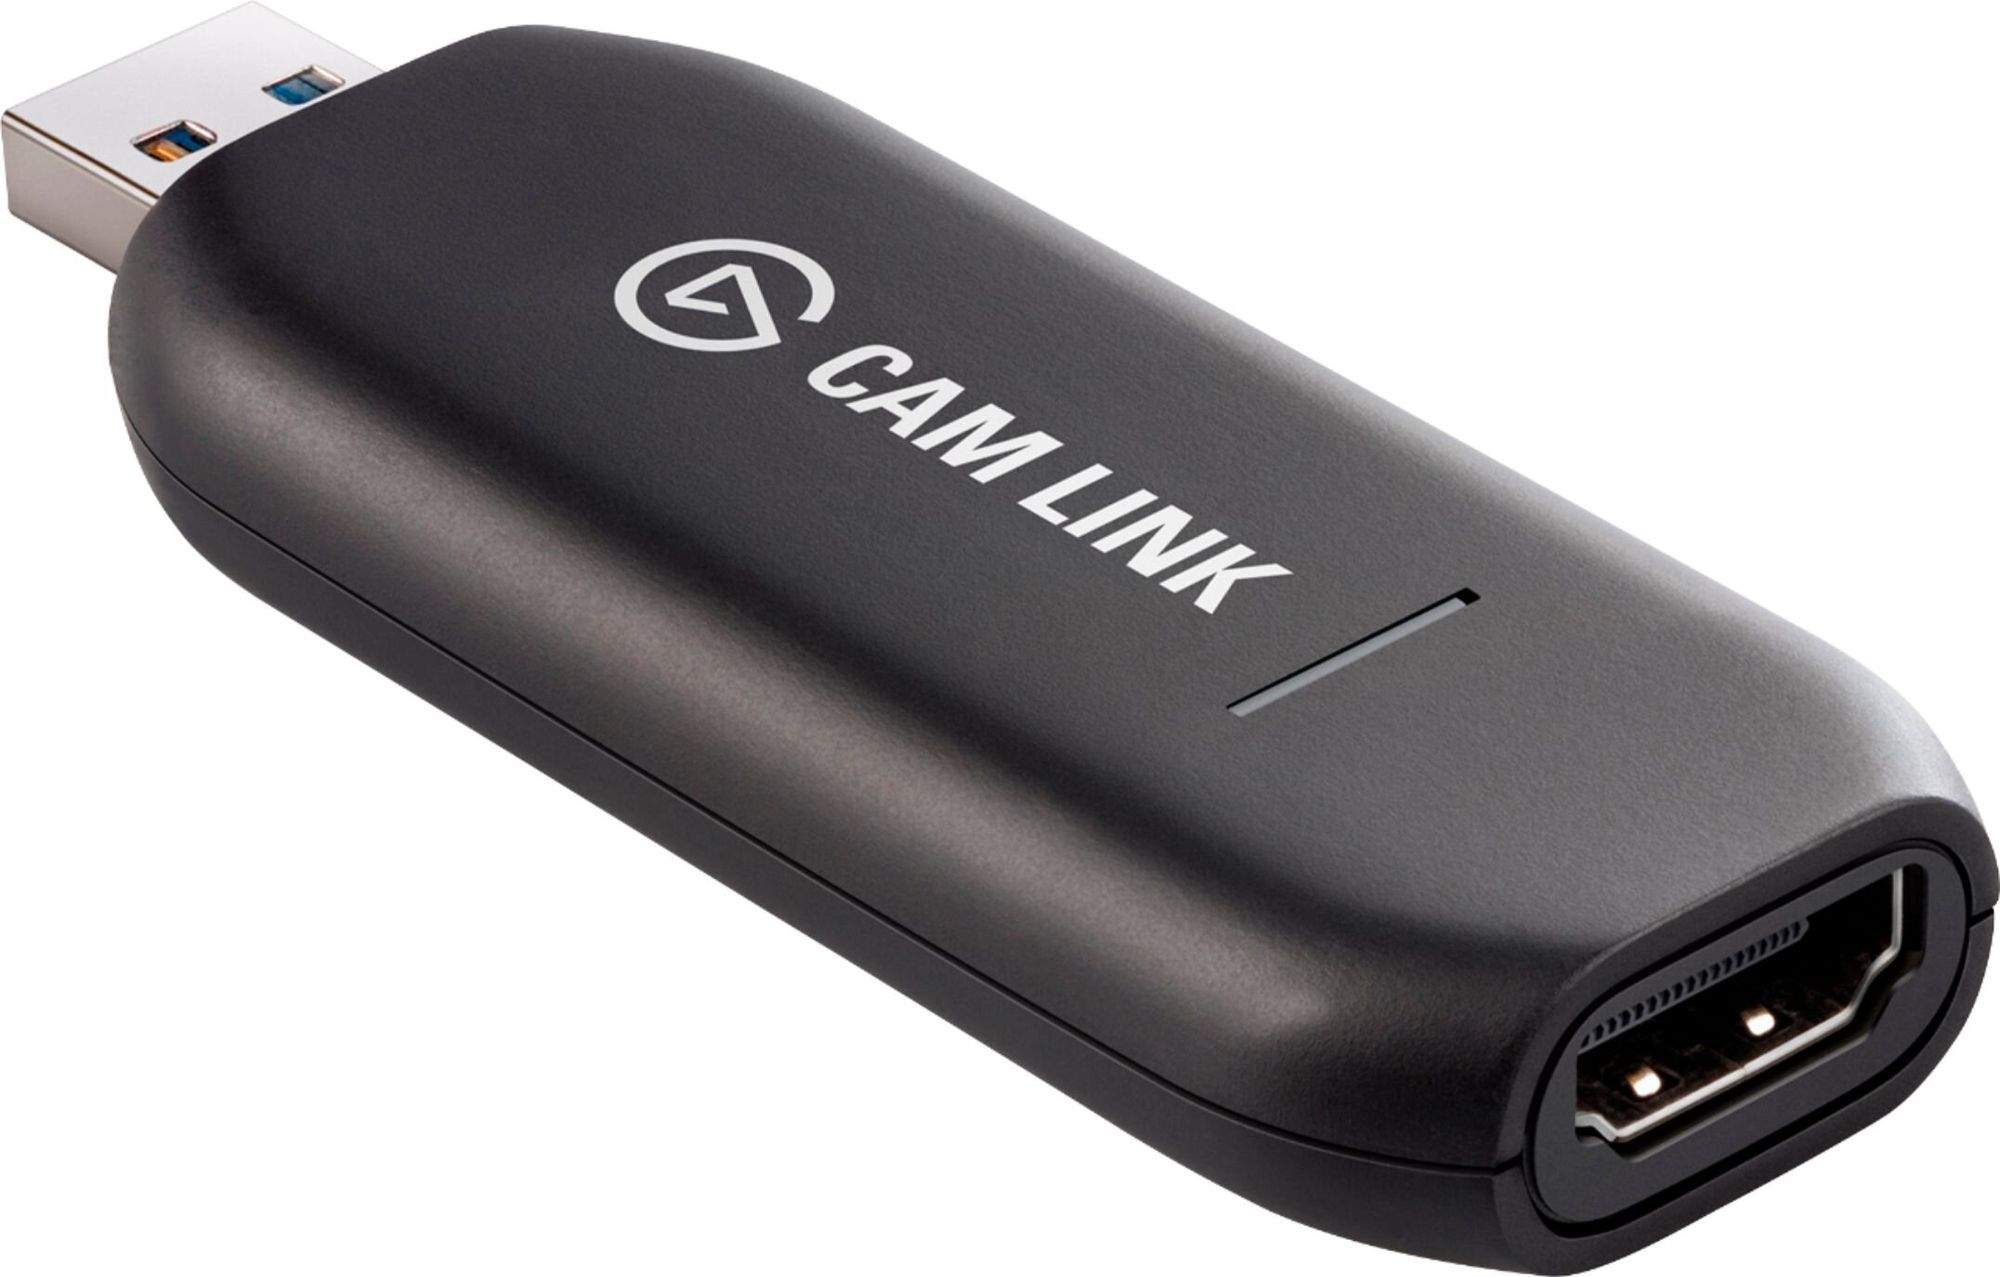
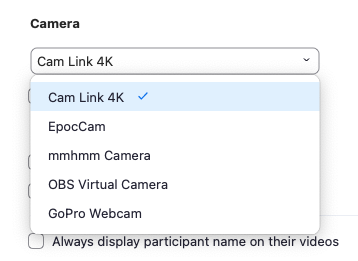
There are few options that work well. I would recommend either Avermedia or Elgato. I have an Avermedia Live Gamer Portable 2, which is more geared at console game capture, and more recently an Elgato Camlink 4k. I'm currently using the Elgato Camlink, but both are "plug and play" and ready to go out of the box.
CONSIDERATIONS
Some mirrorless cameras have "webcam mode" through their USB connection. Do not use those. The video quality is terrible, much worse than a budget webcam. Focus on cameras with clean HDMI out and get the capture card.
webcam
Webcams are still far behind the quality you'll find with an actual camera and lens set up, however, there are some decent ones that work well enough. I have a Logitech Brio 4k camera which I travel with and it's hands down better than any built-in camera on a laptop or tablet. Elgato has also just released a webcam that comes even closer to a budget mirrorless (like mine), the Facecam. Check out Alpha Gaming's review.
repurposed cameras
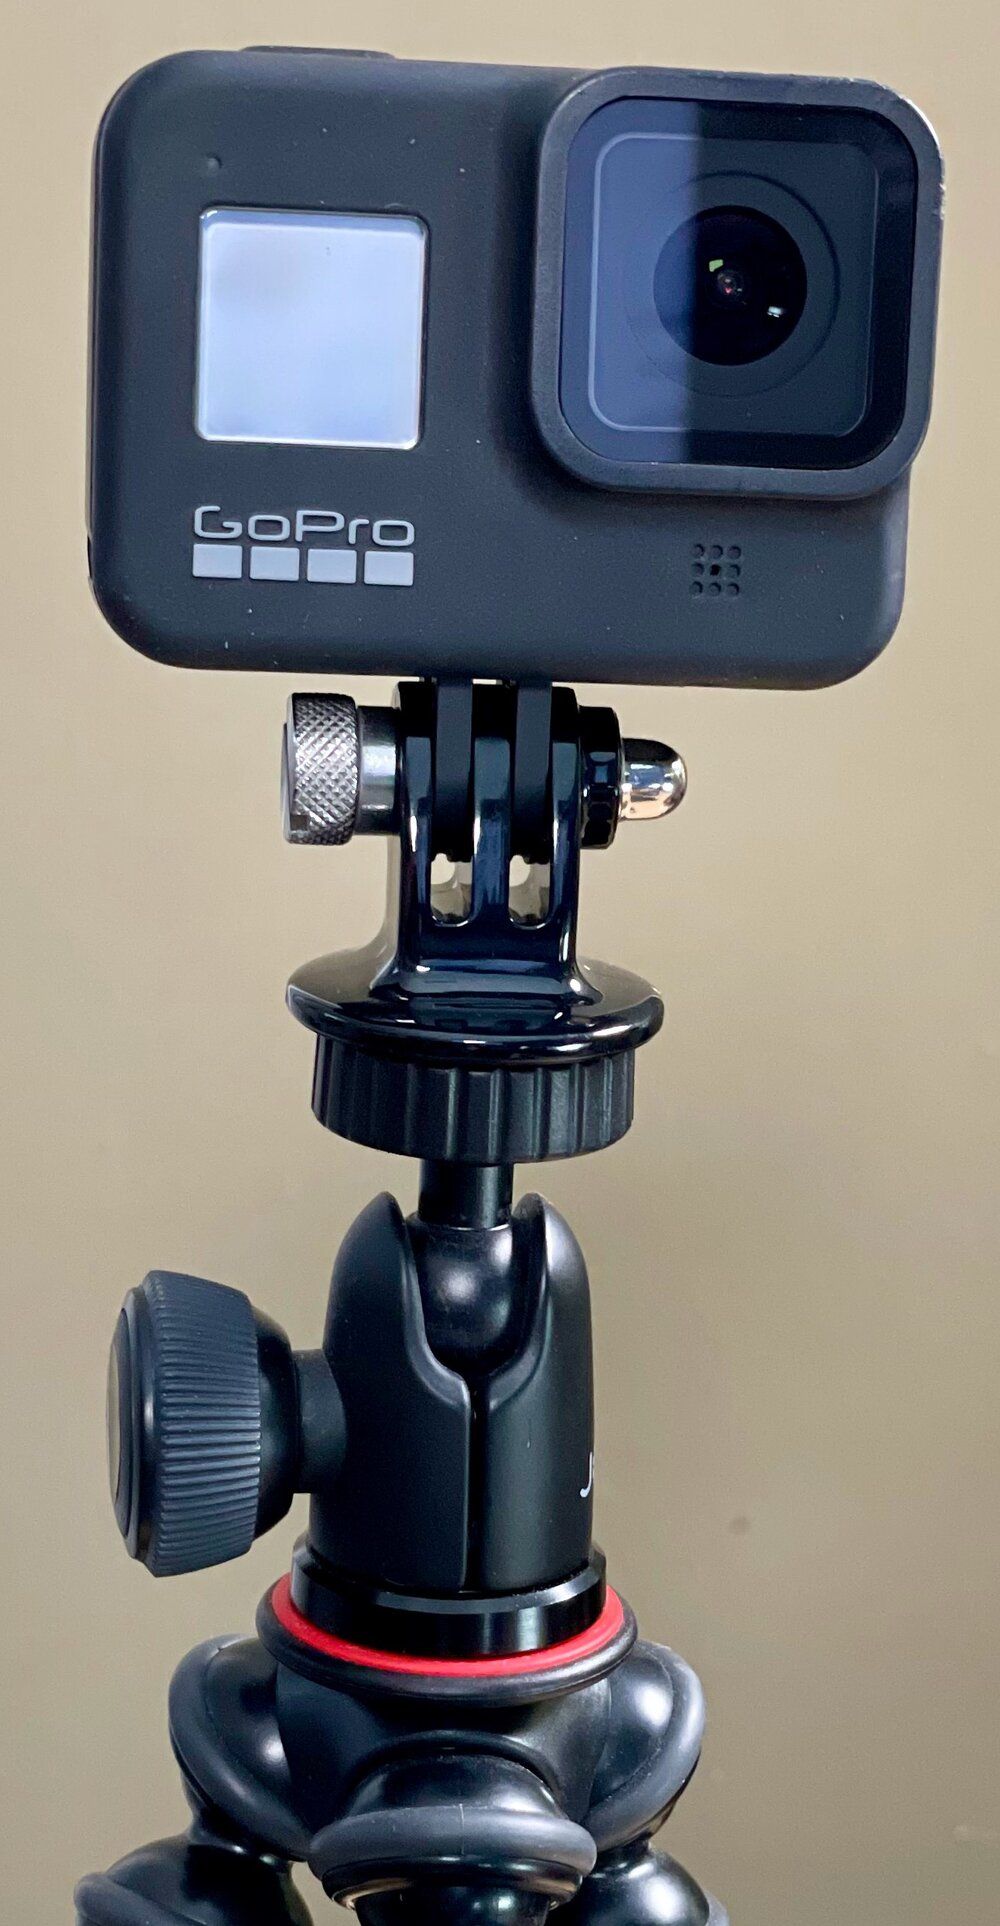
There are some solid and high-quality options with cameras you might already have. Elgato makes an inexpensive app for your iPhone called EPOCCAM that will allow you to use either the front or rear cameras, plus the microphone, as a webcam on your Mac or PC. I actually use this when I want to take my meeting on my desktop away from my desk, but it could be a great stationary option as well if you don't need your phone while working or you have a spare older iPhone. It just needs to be on the same wifi network or connected directly to the computer via lightning to USB. Another option is using your GoPro Hero8|9 as a webcam when connected via USB. GoPro's have great visuals, and all of that comes through their new camera driver for Mac and PC. If this option were there a year ago, I might have just used this as my main camera. You can mount a GoPro anywhere and there are endless accessories. Zoom meeting helmet cam??
- EPOCCAM ($8)
- Joby GripTight One GorrillaPod ($35)
- GoPro HERO8 Black ($300)
- GoPro 2-Way Mount ($70)
lighting
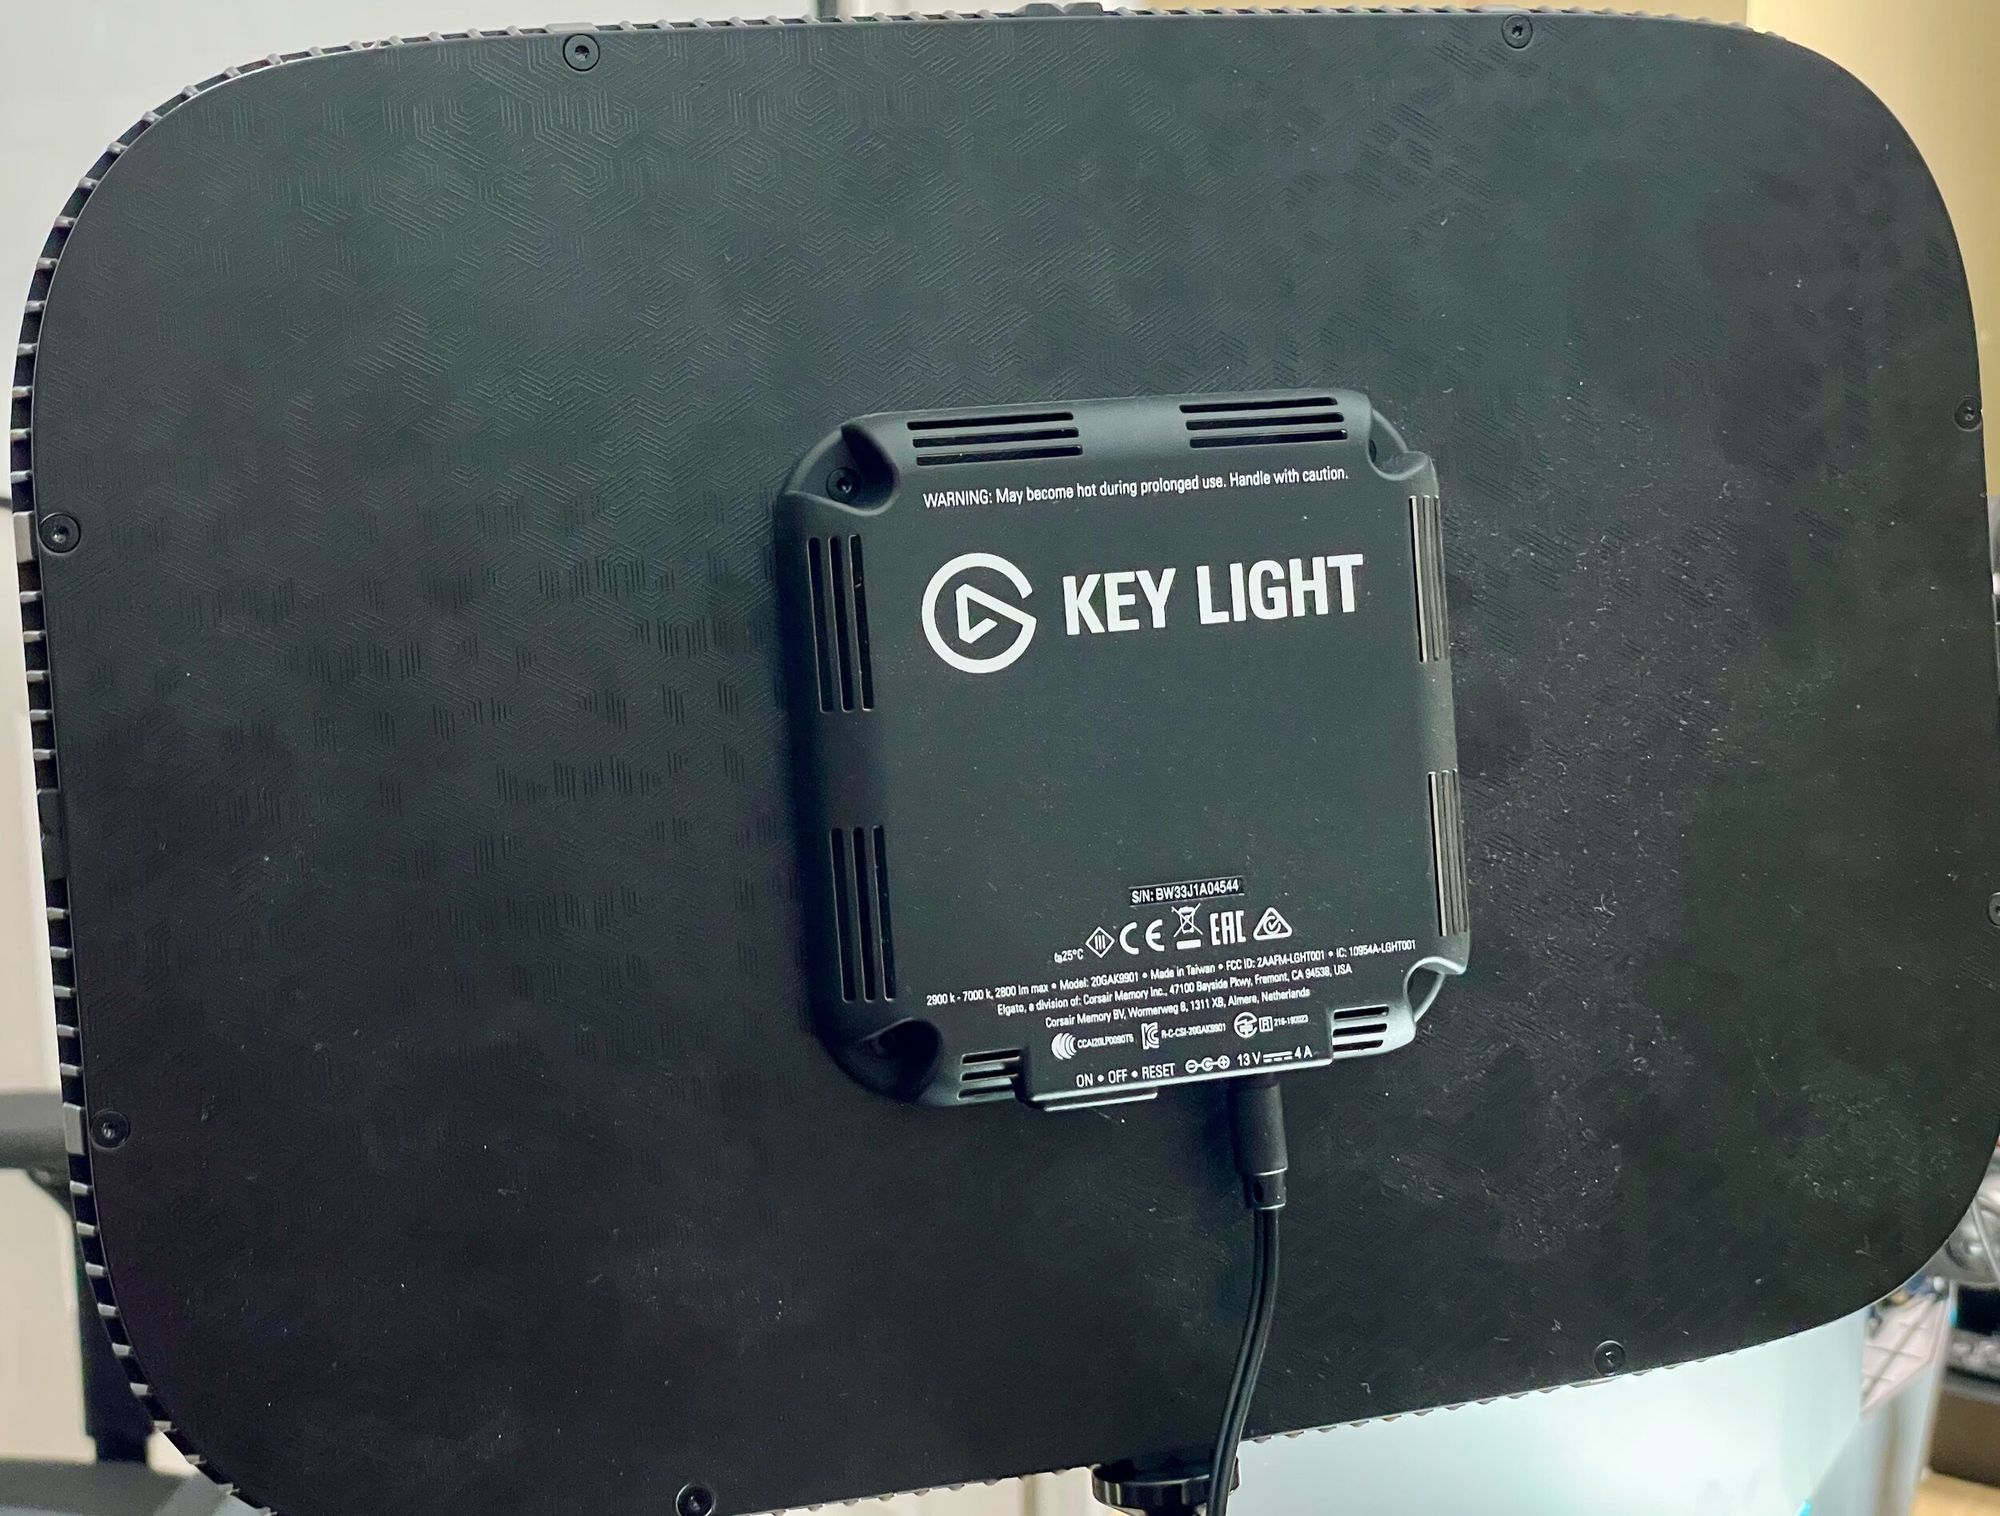
Good lighting is trickier than I thought, and I've gone through a few setups over the past year. I started with using some Hue Play light bars, which are great LED lights, and I already have an investment in Hue lights. I found that they worked better for general room lighting, so I still use them in a different capacity. For instance, using them with Hue sync on your Mac/PC is a cool experience. Where I landed was probably the obvious choice, used by YouTubers and streamers alike, the Elgato Key Light. I use 2 Key Lights and my Hue play bar as my backlight in my very amateur attempt at Three-Point Video Lighting. It's worked well for me; very easy to set up, and easy to control temperature and brightness options. You can use your phone, Mac/PC, or a Stream Deck if you have one.
- 2 x Elgato Key Light ($200)
- Hue Play light bar 2-pack ($150)
Next level accessories
Your setup is pretty good now, but why stop there :) I've added some nice-to-have items over the past year that I’ve grown to love and you might feel the same way. Mainly inspired by content creators, but I feel like a twitch streamer these days anyway.
zoom like a pro
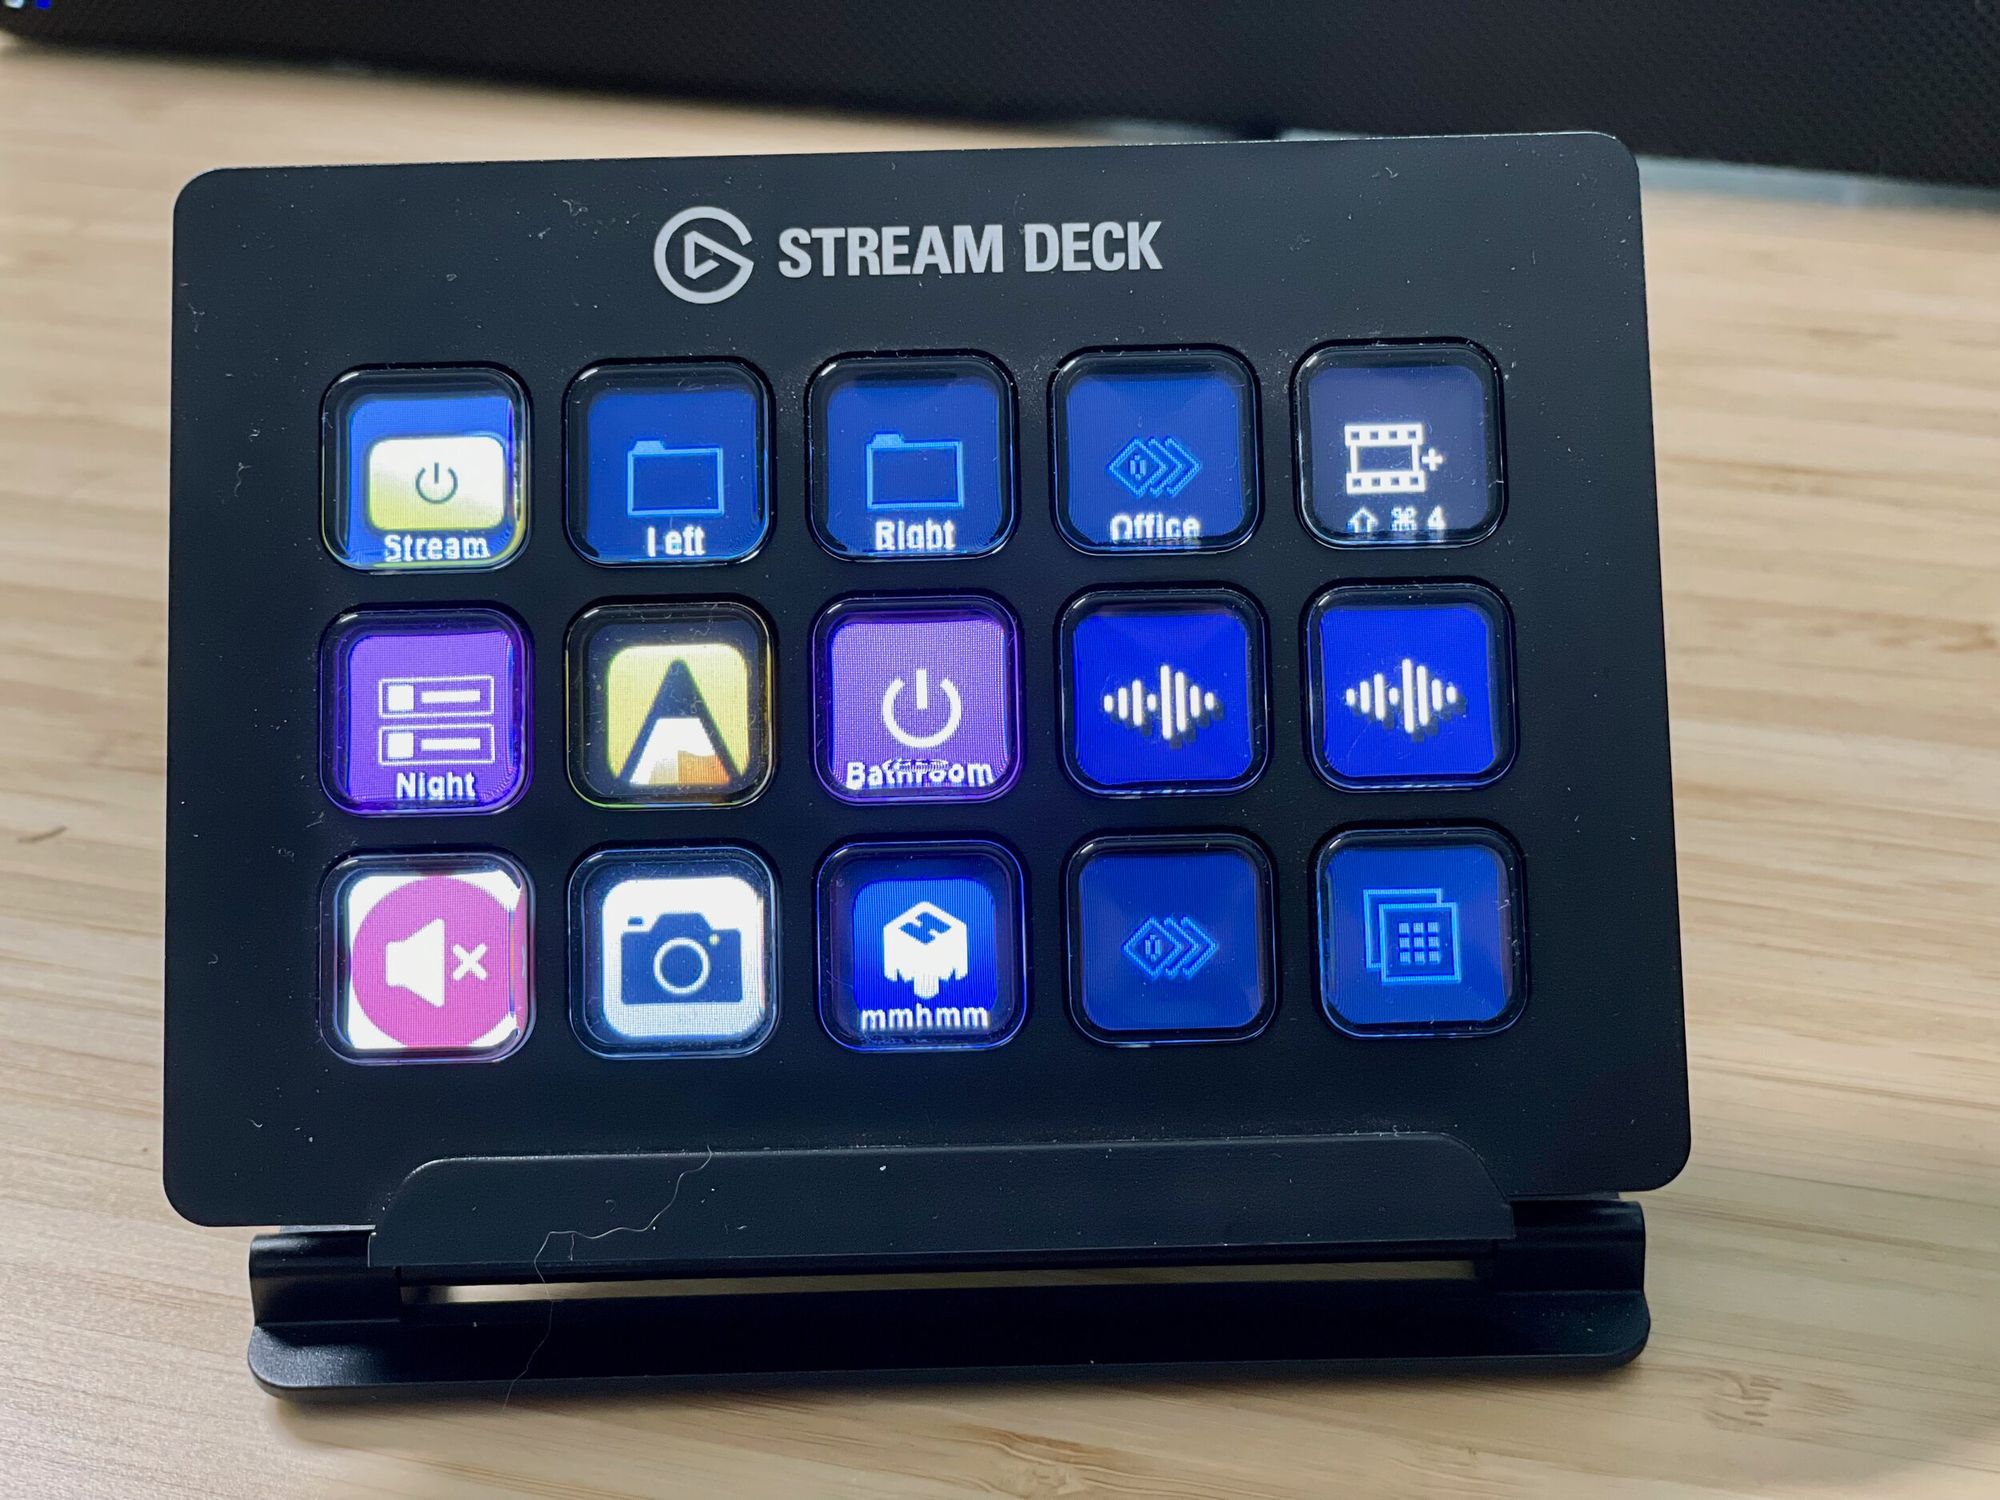
Cool sounds effects, lighting macros, physical mute buttons, etc are not just for content creators. I added an Elgato Stream Deck to my setup and I love it. I have buttons for my Hue lights, my key lights, my microphone, camera on/off & mute buttons for Zoom and Meet, to name a few. All of this can be assigned to a physical button and managed through the stream deck app on your Mac/PC. You can get pretty crazy with some of the multi-step macros and the constantly evolving Plugins...Spotify, PowerPoint, Sound effects, VS Code! They come in 3 sizes and have an app for your phone, which has the same functionality.
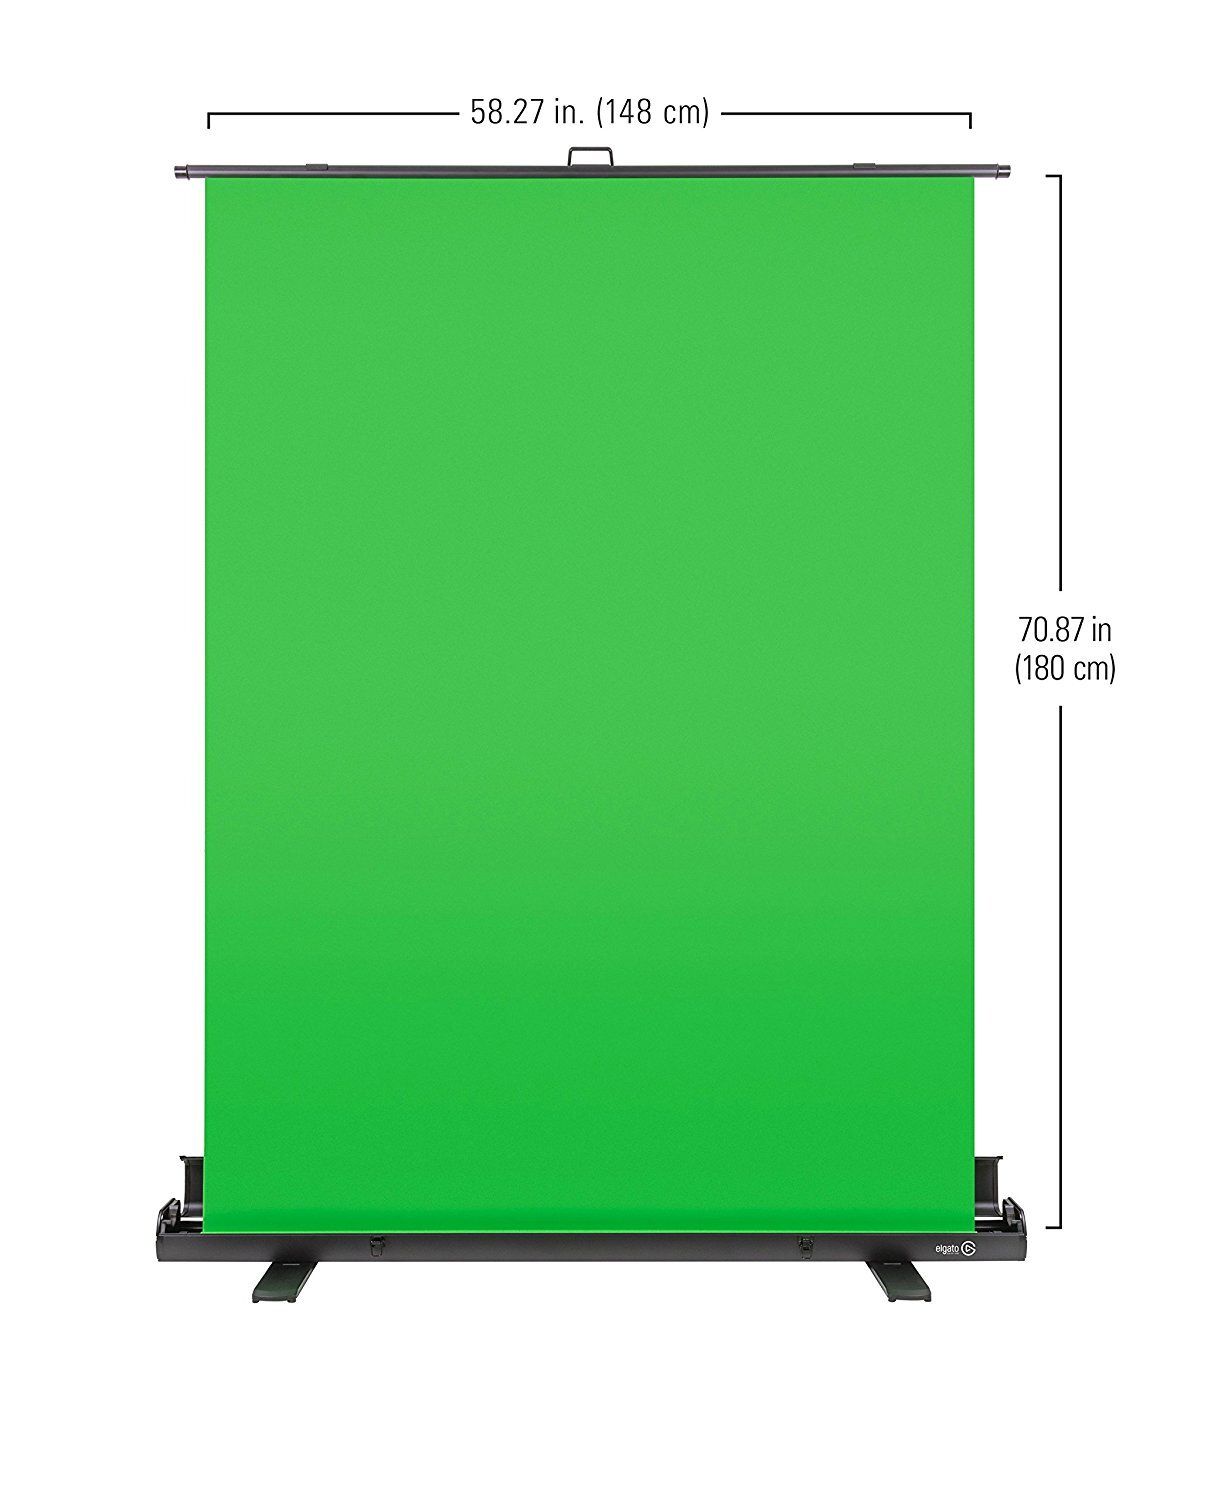
If you want to customize your background and not rely on the Zoom, Meet, or Teams software to get it right 80% of the time, you can opt for your own green screen. Elgato has another great option here: easily fold up or down as needed.
Level up your presentation skills through software. Now if you are really adventurous, a great free option that is widely used by Twitch streamers is OBS Studio. Endless customization and with their virtual camera plugin, you can set up your view however you want to and select OBS as your camera in your meeting software. For those that want a bit more polish, there is a great app called mmhmm. I can't say enough about this app. Not only does it have much of the power of OBS, but it also makes it easy to use both the camera and screen share feature of your meeting software to really customize. Things like putting your video in the corner of the deck you are presenting or quickly switching between a deck, your browser, and your video while leaving the screen share on the same app. It's a lot of fun and really adds some nice polish to presentations.
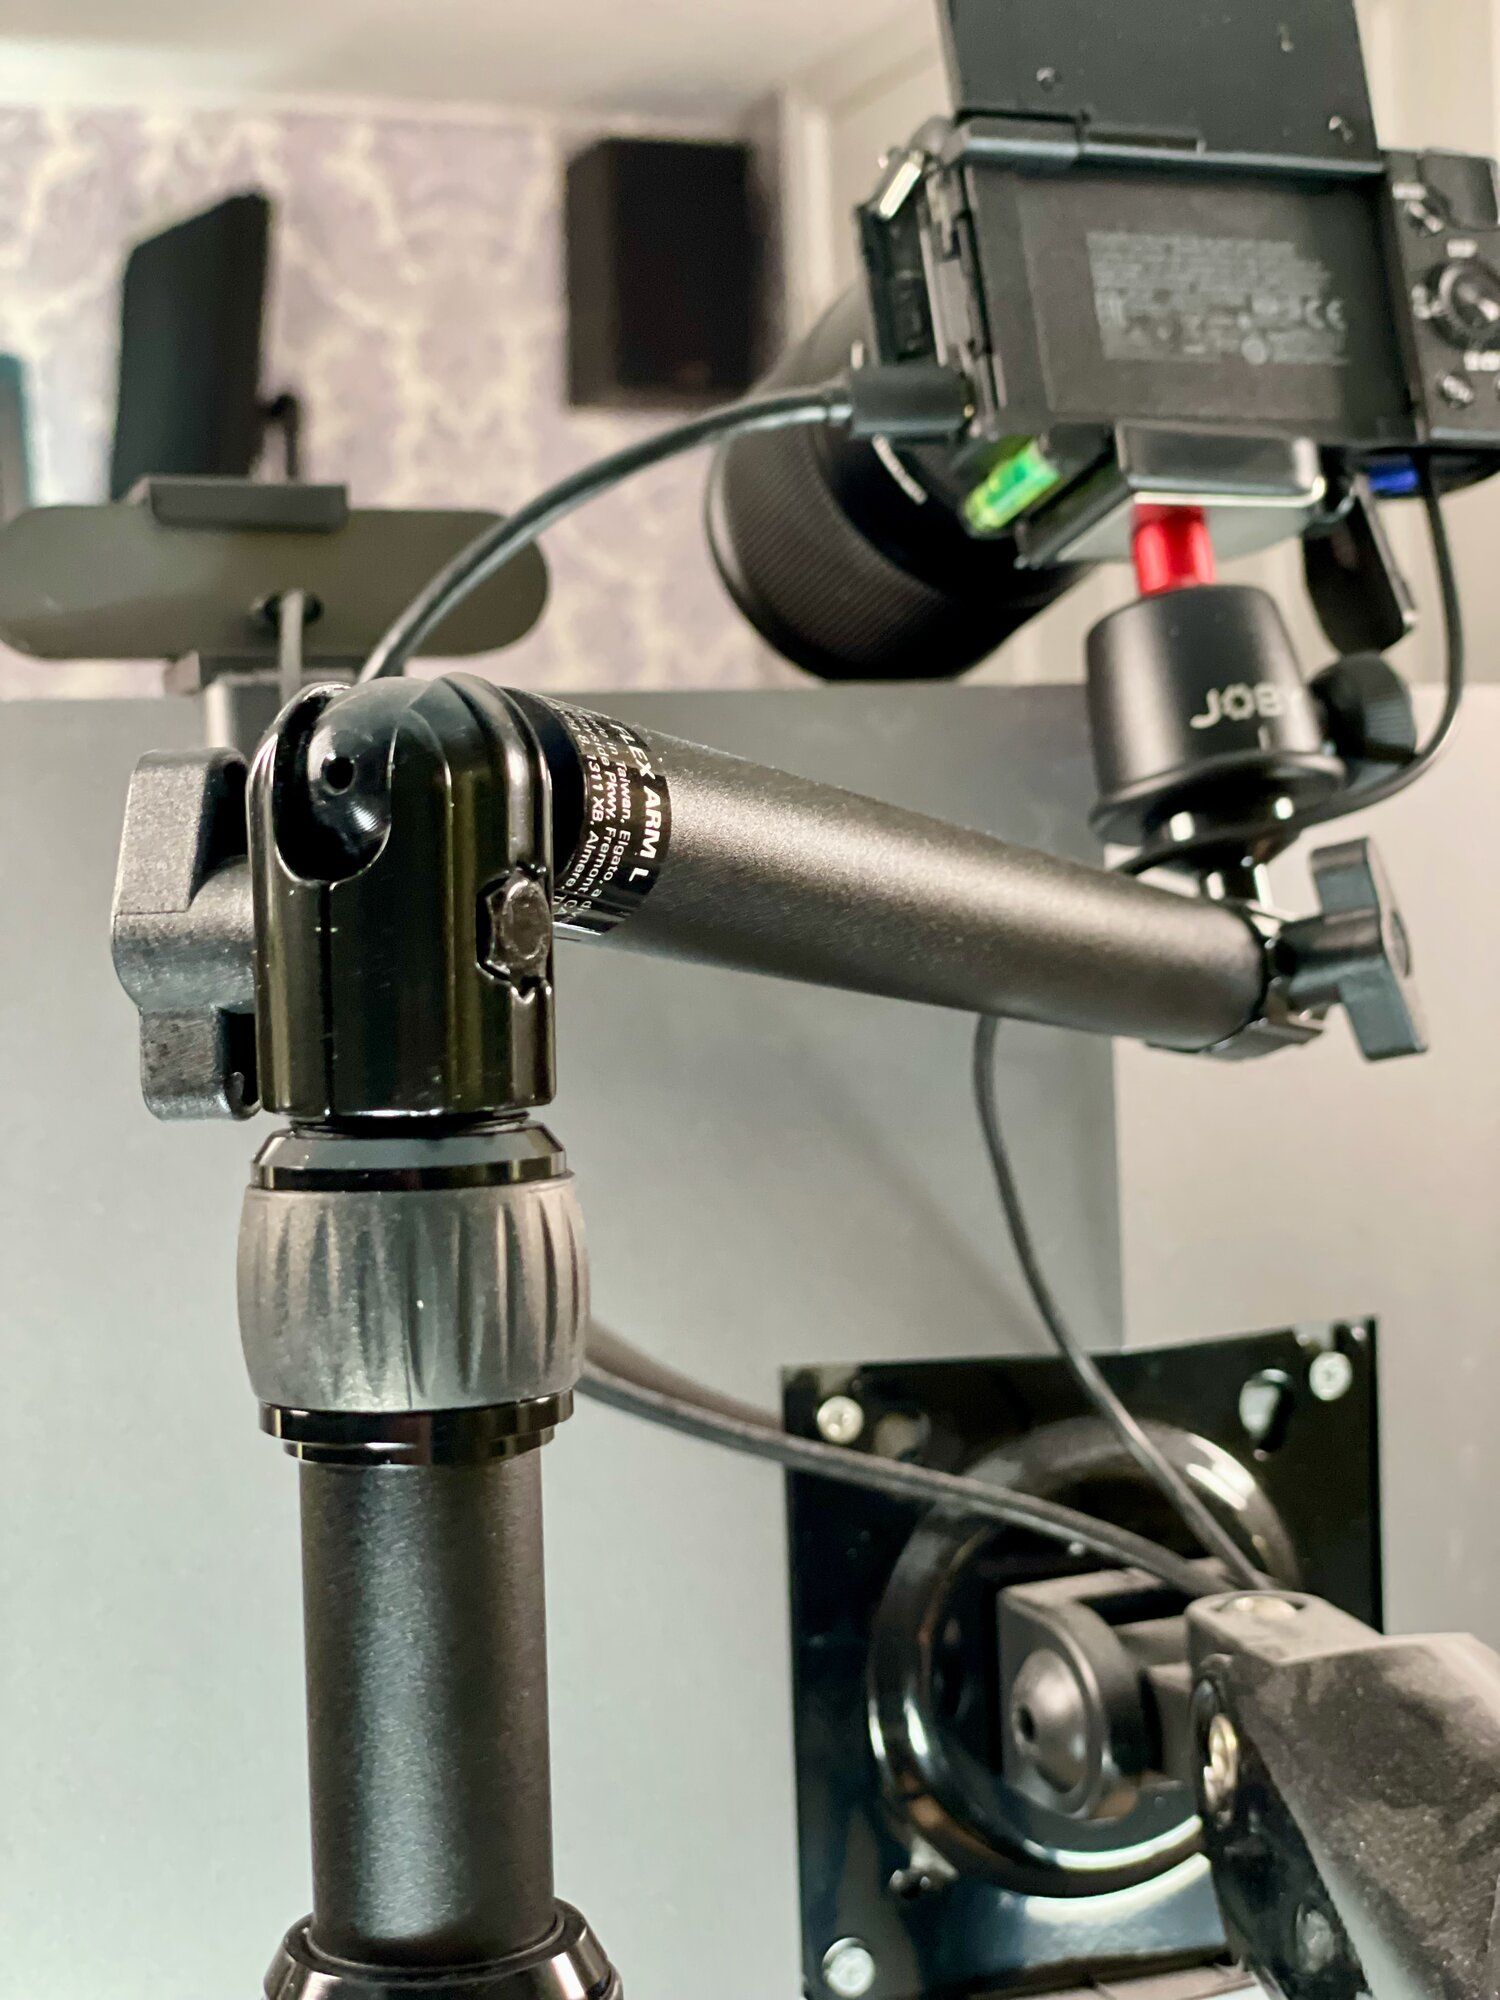
High-quality gear mounts with many configuration options will maximize your desk space. At the same time, offering you considerably more options as to where you position your gear. I'm using Elgato's Multi-Mount Modular Rigging System, which allows you to combine their base mounts with any accessories to customize your needs. I have several Elgato Master Mounts, Solid Arms, Flex Arms, and a Phone Grip . These allow me to perfectly mount my camera, position my lights, and cleverly mount my Wave:3 below my display but still hovering over my desk.
- Elgato Stream Deck ($150)
- Elgato Green Screen ($160)
- 2 x Elgato Master Mount ($50)
- 2 x Elgato Solid Arm ($30)
- 4 x Elgato Flex Arm ($40)
- Elgato Phone Grip ($15)
- OBS Studio ($0)
- mmhmm ($100)
power
These big investments in your setup require constant power. Getting a nice UPS to protect it all is a great idea. Gracefully handle brownouts, power surges, and keep the consistent power flowing. I use a UPS with all of my electronics, so I have 6 or more around the house of various sizes and capacities based on what they are powering and how long I would like them to last in a power outage. For your main PC setup, I would recommend 1500VA or 1000VA models from APC or Cyberpower. The batteries will generally last 3+ years and can be replaced for about half the price of getting a new UPS.
- APC UPS 1500VA Sine Wave ($220)
- CyberPower CP1000PFCLCD ($160)
Buy Links are using my Amazon Affiliate code which helps support the site.
Updated 8/2021

