Use your domain with Cloudflare to securely access services on your home network
This guide will walk you through securely exposing Plex, your NAS, and other services while away from home. All while avoiding UPnP and traditional port forwarding, which is typically less secure and more complex with only one dynamic IP address.


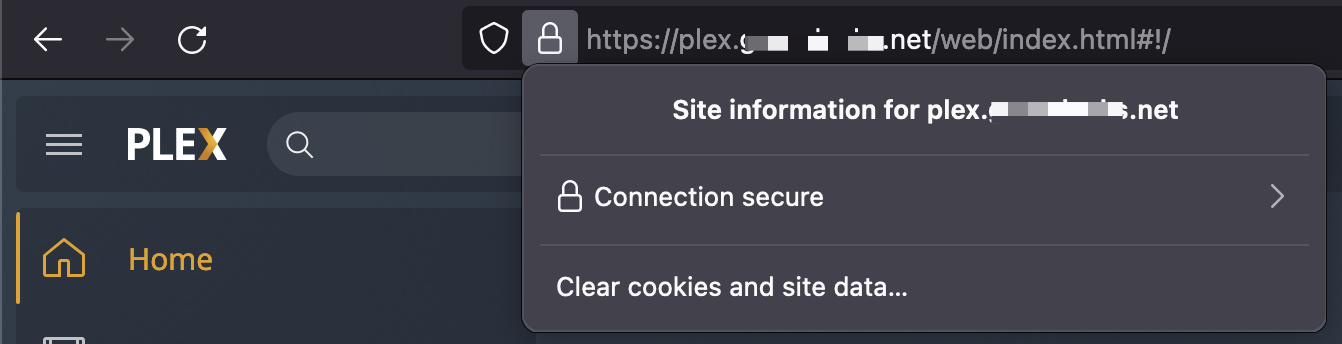
This guide will walk you through securely exposing Plex, your NAS, and other services while away from home. All while avoiding UPnP and traditional port forwarding, which is typically less secure and more complex with only one dynamic IP address. Best of all, no more self-signed certificate warnings; everything proxied through Cloudflare will use a legitimate wildcard certificate for your domain! If you work in tech, you are likely familiar with edge platforms like Cloudflare. They sit in front of your cloud provider or data center and offer various services, like firewalls, DDoS protection, load balancing, caching, DNS, and so much more. You may not be aware that Cloudflare is just as useful for personal use, and it's free!
Create a Cloudflare account and move your DNS over
Once you create your account, you can add a site on the main dashboard. Migrating to Cloudflare is dead simple. It will copy over your existing DNS entries from wherever you are hosted now, making it seamless when you switch to their DNS servers.
Tip Double-check your settings here as not every entry should have Proxy turned on. If you use email services like Proton Mail (my personal choice), or Google workspaces, you'll want certain CNAME and all MX records set to DNS only (gray cloud icon).
Finally, select the Free option at the bottom, which is not entirely apparent unless you know where to look. Stick with the free tier if you are just getting started. I have the Pro plan on a few domains, which you may want to consider if you are exposing anything from your home network that people other than you will access.
Set up Cloudflared
Cloudflared is an open-source utility maintained and published by Cloudflare, establishing a secure tunnel from your network to Cloudflare's. Any machine running 24/7 will do; however, I recommend a dedicated Virtual Machine, Docker container, or Raspberry Pi, to keep things isolated and maintainable. In my setup, I'm using a Raspberry Pi 4B running Ubuntu Focal arm64. The downside of running on ARM is that installing through apt using their package repository only supports the x86 releases. Given that, I did a manual install and configured Cloudflared to auto-update.
CLOUDFLARED LOGIN
Before you can open a tunnel, you need to login using your new account. The following will open up a browser and ask you to choose your site/host.
cloudflared tunnel login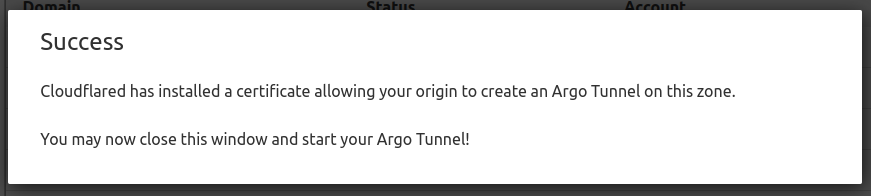
After a successful login, go back to your terminal, where your credentials file is saved to the default location. For example: home/chris/.cloudflared/cert.pem. You can leave it where it is or copy it somewhere else. You'll need this file to work with the cloudflared utility moving forward.
CREATE YOUR TUNNEL
Call the create tunnel command, which registers your tunnel with Cloudflare and generates a .json file in your default cloudflared local directory.
cloudflared tunnel create mytunnelTunnel credentials are written to /home/chris/.cloudflared/fd1f3bb2-ca6d-4807-9e60-b5b6834d060e.json. cloudflared chose this file based on where your origin certificate was found. Keep this file secret. To revoke these credentials, delete the tunnel.Confirm it worked:
cloudflared tunnel list

fd1f3bb2-ca6d-4807-9e60-b5b6834d060e mytunnel     2022-01-12T21:57:18Z
CREATE YOUR CONFIGURATION
The best way to maintain your tunnel configuration is through the .yml configuration file. It's well-documented and easy to set up in the terminal. I recommend storing your config on Github in a private repo or backing up to another secure location if you need to restore them down the road.
nano /home/chris/.cloudflared/config.ymlCREATE YOUR INGRESS RULES
Now it's time to set up your local services to proxy through your tunnel! Ingress rules allow you to map your local service to a host record on your Cloudflare hosted domain.
But why stop there? You can also create more complex ingress rules using wildcards to ensure something always responds to any requests on your domain or set up a default catch-all rule that will return a 404. Here are some examples, with more in the ingress rule documentation.
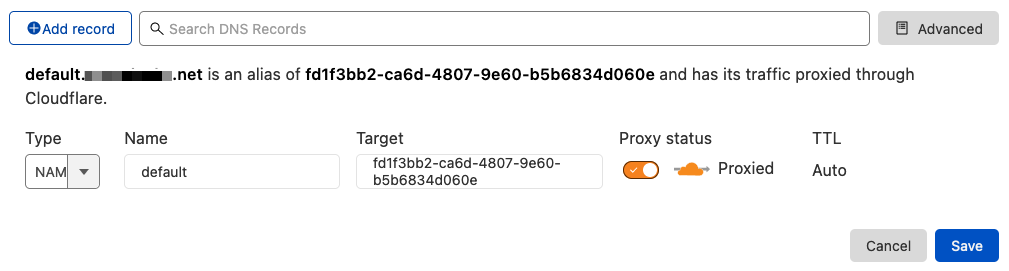
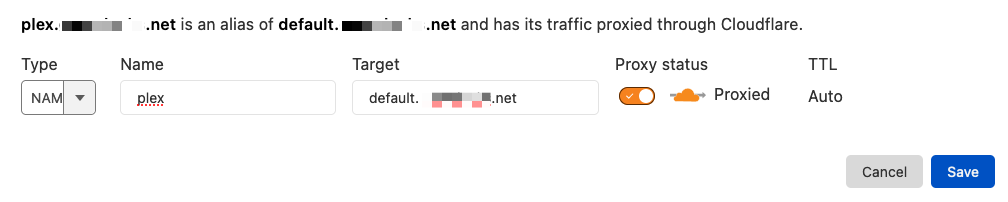
CREATE YOUR DNS RECORDS
Now that you've configured your tunnel and your ingress rules are set, you need to create your DNS records in the Cloudflare dashboard. When someone types plex.mydomain.net in their address bar, you'll need a new CNAME record pointing to your new tunnel. I recommend creating one record that points to your tunnel, and then all new CNAME records will point to that.
INSTALL CLOUDFLARED AS A SERVICE
Final but crucial step if you want your tunnel to survive reboots.
sudo cloudflared service install --legacyNow edit your config to ensure the automatic update is enabled and it's using the correct config file in the previous step.
sudo nano /etc/systemd/system/cloudflared.serviceFire it up!
sudo systemctl enable cloudflared
sudo systemctl start cloudflared
sudo systemctl status cloudflared
Updated 1/2022